Wednesday, November 11, 2015

The Science Behind... soft sandwich bread with bacon drippings


Welcome to the first post of my new series, "The Science Behind..."!

This post will touch on a few subjects:
1. What makes sandwich bread different from my basic 1-2-3 bread
2. How to incorporate fat into your dough's hydration ratio
3. How the addition of fat impacts the baking process


If you haven't read the recipe I'm referencing here, CHECK IT OUT then come back.

1. How is sandwich bread different from bread that only consists of flour, water, yeast and salt?

Think of the bread you probably ate sandwiches on as a kid - it's soft, slightly sweet, and has what's called in the business a "tight crumb."  That is, very small holes as opposed to the large holes in french bread or ciabatta.  After all, we can't have the jelly leaking out!  Fat and high protein content are what give sandwich bread their characteristic softness and tight crumb.  This recipe has three sources of fat: milk, egg yolk, and bacon drippings.  It has two sources of protein: the high protein content of bread flour, and the egg white.  The sweetness comes from the honey.


2. How can I incorporate fat into my bread without messing everything up?

  • The most important factor in making successful bread is maintaining the right ratio of water and flour.  This ratio is called hydration, and it's super important for the development of gluten, which gives loaves of bread their structure.  
What do you see in this recipe?  There's no water as such.  There's milk. Bacon drippings. Egg.  Honey.  This recipe has a lot of different wet ingredients, but none of them are the same as water.  Because of this, they aren't absorbed in the same way water is.  Milk, egg yolks and bacon drippings all have fat in addition to water (milk also has a negligible amount of protein), and egg whites have protein.

it's bread math time
Milk is 85-95% water
Bacon drippings are about 30% water
Eggs are 90% water
Honey is about 20% water

If you add up the total weight of the wet ingredients in this recipe, you get 425+85+85+50=645.  645/795 = 81% hydration.  Clearly that isn't right, because at 81% hydration, the dough would be very wet and difficult to manage.  This dough is supple and easy to handle.  So we need to calculate what the actual hydration is by taking into account each ingredient's percentage of water.

Milk is 425*.95 = 404 (rounding up)
Bacon drippings are 85*.3 = 26
Egg is 50*.9=45
Honey is 85*.2=17

Therefore, the actual hydration of this loaf is 404+26+45+17 =  492/795 = 62% hydration.

Ok, confession time: in this case, you really didn't need to do all this math.  Peter Reinhart already did the math and figured out that the recipe would work with the water content of the above ingredients.  But if you wanted to make up your own recipe or figure out what would happen if you added an egg to another recipe, you would need to use the water content of the egg to figure out the total hydration of the dough and make sure it would work and not become a gloppy mess.

BUT WAIT!  Before we leave the topic of fat and hydration: Eggs are a special case.  Because the yolk has fat and the white has protein, you need to be careful just adding it to a dough that isn't enriched with anything else.  While the egg yolk adds softness to a dough, whites add protein strands which increase the chewiness of the loaf.  Too much protein and the loaf will be too tough.  For this reason, Peter Reinhart adds milk and oil, butter or bacon grease in addition to the egg.  Another adaptation I've seen has you add one egg plus an additional egg yolk to increase the fat.  It's up to you which you prefer.
this is just a random picture of eggs; the recipe only calls for one egg

  • Knead, knead, knead!
Most breads are improved by letting the dough rise for a long time with a little bit of yeast.  The USDA cautions against leaving raw egg and milk out on the counter for long periods of time, so this recipe cuts down on the time the bread needs to rise by adding more yeast than usual.  When you add more yeast, it is vital that the gluten "net" be formed quickly by kneading.   Otherwise, all that gas created by the yeast will escape and the dough will not rise, or it will quickly deflate when it bakes. 


3. How does the addition of fat impact the baking process?

If you already read the recipe for soft sandwich bread, you saw that the baking temperature is 350 degrees F, a much lower temperature than loaves without fat can withstand.  There are two reasons for this:

  • Dough with fat and sugar will brown more quickly than un-enriched dough.  Therefore, in a hotter oven you run the risk of burning the crust while the inside of the loaf is still raw.
  • For sandwich bread, you want a soft crust.  A hotter oven produces a crustier crust.


I hope you enjoyed this first post in "The Science Behind..." series!  If there's another aspect of bread science you wish to explore, please let me know in the comments.


Bread for Communion Part V: Soft sandwich bread with bacon drippings


Hello all!

After a lengthy hiatus, Bread Maiden is back.  Now with double the bread baby action!  That's right, we've added a second baby and we're high on life (also lack of sleep).  Unlike with my first bread baby, I've actually been baking since #2 was born and didn't go through quite the cataclysmic adjustment period as I did with #1.  A few months ago I also returned to baking communion bread for my church.
Little bread baby makes his blog debut
Last month, I decided to try something new for the "look pretty" loaf for communion.  If you have no idea what that means, go here.  I wanted to mix things up and decided an easy way to do that was to swap one type of fat for another.  So instead of using butter or oil, I decided to use bacon drippings, which we save and store in the refrigerator.

tastes better than it looks
The recipe I used comes from Peter Reinhart's Artisan Breads Every Day.  I love this book in particular because it has the best biscuit recipe ever, with the fastest method of cutting in the butter I have ever seen (seriously, it saves SO much time).  The recipe I tweaked is his Soft Sandwich Bread and Rolls recipe.


You will need (for two loaves):

1 3/4 cup lukewarm milk
1 Tbls yeast
795 g Bread Flour
1 Tbls kosher salt
1 egg
1/4 cup honey
85 g melted butter, oil or bacon drippings

1.  In a small bowl, sprinkle the yeast on top of the milk and let sit for five minutes.  If it smells yeasty, it's working.


2. In a large mixing bowl or the bowl of your stand mixer, combine the flour, salt, egg, honey and bacon drippings and set aside until your yeast mixture is ready.  Then add the yeast and milk into the mixing bowl.


3. If you are using a stand mixer, get everything nice and combined using the paddle attachment.  When it becomes a ball, switch to the dough hook and knead for about five minutes.  If you don't have a stand mixer, just knead the heck out of it for five minutes.  You really do want to knead here - there is so much yeast that things are going to move quickly and you'll want to make sure the gluten has really developed a strong net to trap in those yeast gases!

before

after
4. Place the dough in an very large oiled bowl and cover with plastic wrap.  Let rise until doubled in size.
before

after
5. Once the dough has doubled, punch it down and divide it into two equal parts.  This is more important if you plan to use loaf pans; if you are baking both loaves at the same time they need to be exactly the same size or they won't bake evenly.  Weigh out the dough after punching it down and then divide into two equal halves.  If you are making boules, you can just eyeball the two halves.  Shape the loaves as you wish.  If you want to use the dough to make sandwich bread, flatten it out and then roll it up and place it for the second rise into two buttered bread pans.  If you want boules, shape the loaves into balls and place for the second rise onto sheets of parchment paper and cover each loaf with a large bowl to form a dome.


6. After about an hour rise, preheat the oven to 350 degrees F.  Score the boules in a pretty pattern or score the sandwich loaves with one long line down the middle.
look at all that condensation on the inside of the bowl!

I use a serrated knife to score the loaf

I tell Bread Camp attendees that the most important part of scoring the loaf is Not Being Afraid!
7.  Bake for 40-50 minutes until the top of the loaf is golden brown and it can withstand a nice hard thump with your nail.  Remove from the oven and let rest until cooled.


Voila!  A loaf of bread that is nice and flaky with no bacon flavor.  Everyone who tried this loaf loved it, and it's nice sometimes to tweak favorite recipes and see what else they can do.  You could even take the bacon to the next level (if bacon flavor is what you're after) and add bacon bits (cooled of course) to the dough after the first rise but before you divide the loaf in two.  Let me know how it works out.

If you're interested in more of the science of baking enriched breads like this sandwich bread, check out my "The Science Behind..." post here.

New series: "The Science Behind..."


During my long hiatus from this blog, I've been thinking about the direction The Bread Maiden will take in the future.  I still like having all my favorite recipes in one searchable place, and I have enjoyed sharing my bread-baking journey and my adventures in baking for my church's monthly Communion observance with my followers.


At this point, I've been baking bread for nearly ten years, and I've learned a lot in the process.  I enjoy sharing my knowledge at my Bread Camp, and I'd like to share it in a more useful way here too.  


Therefore, I'd like to try out a new blogging format that will delve deeper into the science behind my recipes.  I want to break down the recipes and explain why they work.  In doing so, I hope readers will be able to see why each step matters, what steps DON'T matter, and how they can tweak the recipes to make them work better.  


Everyone likes and needs different things. I have a friend who lets her bread rise overnight and then bakes it in the morning.  How can she adapt a recipe that calls for a rise of only two hours?  Or another friend want to incorporate more whole grains. How can he adapt a recipe that calls for bread flour?  In order to satisfy those who care about such things and those who only want the recipes as they are, I'm going to divide what used to be a single bread post into two separate posts: 1) the ingredients and process, or what most people would consider the "recipe," and 2) a post explaining the "why" behind the recipe.  Each "why" post will be tied to a specific bread recipe post.  I'll be using more bread math, but don't be scared!  There's really only two equations you will need.


I hope you enjoy this new format and tell me what you think!


(no recipe in this post, sorry! If you'd like to make the recipe these pictures are from, check out this post)

Monday, March 9, 2015

Bread Camp, Round II

This past Saturday, I hosted a group of five women from the church book club at my house and taught them my tricks and techniques for making bread.  I call it Bread Camp.


These are my notes after the first round of Bread Camp... this time the handout was 5 pages long!

It was really fun.  Deb Perelman of Smitten Kitchen says in the intro to her book that until she started a blog, she had no idea how differently other people cook.  I think the same goes for my Bread Camp.  It's a whole different animal trying to teach something to people for the first time, particularly something that has taken on an aspect of "muscle memory" for me.

The motions of shaping and kneading the dough are so familiar that it requires really focusing on what your hands are doing to be able to teach someone else.  I remember at one point I was demonstrating how, after a short 10-minute rest, the dough was much smoother and easier to handle.  I looked up from my perfectly-shaped dough, expecting to see nodding heads.  Instead, everyone was looking at me like I was crazy as they struggled with a dough that was still sticky.  I looked back at my smooth dough.  How *HAD* I done that?  I didn't know.  It took me a while to figure out just what I had done.  Part of teaching is learning to teach, and this was a great "learning to teach" moment for me.

The Bread Camp I teach lasts two hours, during which I walk participants through the ingredients and supplies I use, some basic bread science, and techniques I've found helpful.  I also do the second proof and bake a loaf of bread I prepare the night before, so they can see the whole process from start to finish.  Also, this time we had some down time so everyone had a snack of bread and jam.  It seemed appropriate.

Our class went really well.  One of the things I love about teaching is being asked tons of questions.  The questions were different this time around, and I think they give me a sense of where everyone is and what they hope to get out of the class.  The participants in the class I taught last time were all twenty-something women with no kids.  This time, I had a mix of ages and several were parents or grandparents.  The questions I got were about nutrition, and about scheduling the bread for convenience.  I loved it, because I could tweak the class and include those topics.  I finished up the camp on a cloud of happiness.

As soon as everyone left with their dough, however, I started to get nervous.  I was convinced I had left out some crucial tip that would lead them to fail.  I was nervous that maybe I had made it seem too easy, or had overwhelmed them with too much information.  I was nervous because I told them they could bake their bread in a stainless steel pot, a trick I'd read about online but had never personally tried.  I was nervous because I told them they needed parchment paper but forgot to send them home with any.  I wanted so much for their first bread baking experience to be good, to foster a love of baking we could share.

Why was I so nervous?  During our class, I had repeatedly told them that baking bread is about being brave.  After all, it's just bread.  It's cheap as far as baked goods go, so if you make a hockey puck, it's no huge loss to toss it and make another.  Goodness knows I'd made my share of baking mistakes over the years (I still make them).  What was I so worried about?  I had given them the tools for good bread, so now I just had to be brave and trust that everything would be ok.

The next day, three of my friends sent me pictures of their finished loaves, and I was ecstatic.  They turned out perfectly!  With that, I was back on my cloud.

Here is one picture I received with some impressive oven spring and scoring action:

 I love this one because my friend couldn't get a picture before her family was clamoring to taste it :)  She said her son told her "Mmmm... I could eat this all day!"


The caramel color on this one is lovely, and look at the crackly crust!


At church yesterday, one of my friends gave a shout-out to my Bread Camp, and I've had a few offers to teach it again.  I hope to do so soon, before Bread Baby #2 arrives!

Sorry this post was so word-heavy and picture-light.  Don't worry, I have several recipes I've been trying out lately that I can't wait to share.

Thursday, November 20, 2014

Pumpkin Bread


Y'all, let me get all Paula Deen up in here for a minute.  This bread is goooood with like, four syllables.

I used real pumpkin puree I cooked myself, and once you have the puree, it's crazy easy to throw together.  It is delicious toasted with butter for breakfast.


The recipe comes from the Joy of Cooking.

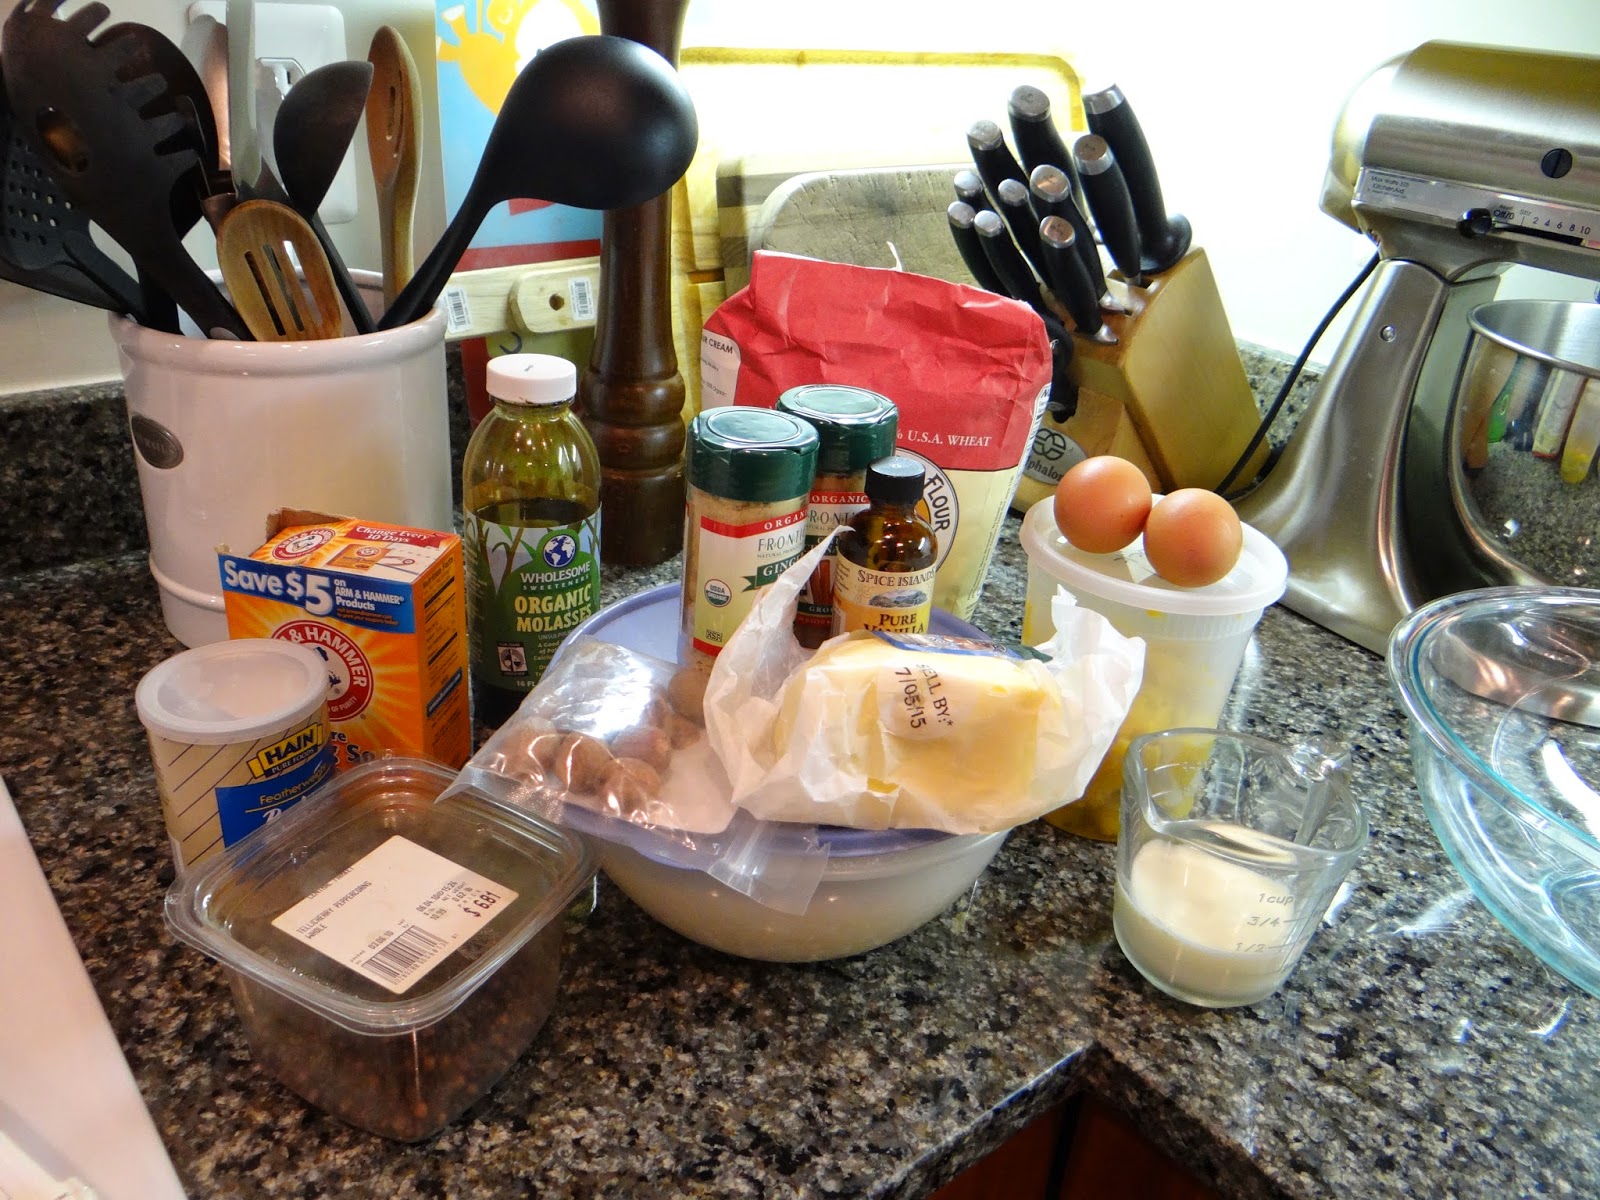
You will need:


1 1/2 cups all-purpose flour
1 1/2 teaspoons ground cinnamon
1 teaspoon baking soda
1 teaspoon salt
1 teaspoon ground ginger
1/4 teaspoon ground cloves
1/4 teaspoon baking powder
1/3 cup water or milk (I used whole milk)
1/2 teaspoon vanilla extract
6 tablespoons unsalted butter
1 1/3 cups sugar, or 1 cup sugar plus 1/3 cup packed brown sugar (I did all brown sugar!)
2 large eggs
1 cup pumpkin puree
optional: 1/3 cup raisins or walnuts (I left these out)

1.  I hate to say this now that you are all ready to go, but everything needs to be room temperature.  What you can do is mix together the dry ingredients (the first seven ingredients listed) in a large bowl.  Then leave the bowl on the counter.  Measure out the milk, pumpkin puree, and butter and leave them along with the eggs on the counter and come back in an hour.

I had a lovely assistant take my pictures.

2. Preheat the oven to 350 degrees F and position a rack in the lower third of the oven.  Grease an 8-cup bread pan and set aside.

3. At this point, you can make your brown sugar if you don't have any handy.  I really like this trick I learned a few years ago, because I always have fresh brown sugar in the exact amount I need, so it never dries out in my pantry!

For a cup of sugar, measure out a tablespoon or so of molasses.  It's not an exact science or anything.  Using a fork, mix together the sugar and molasses until it looks like brown sugar.


And you're done!

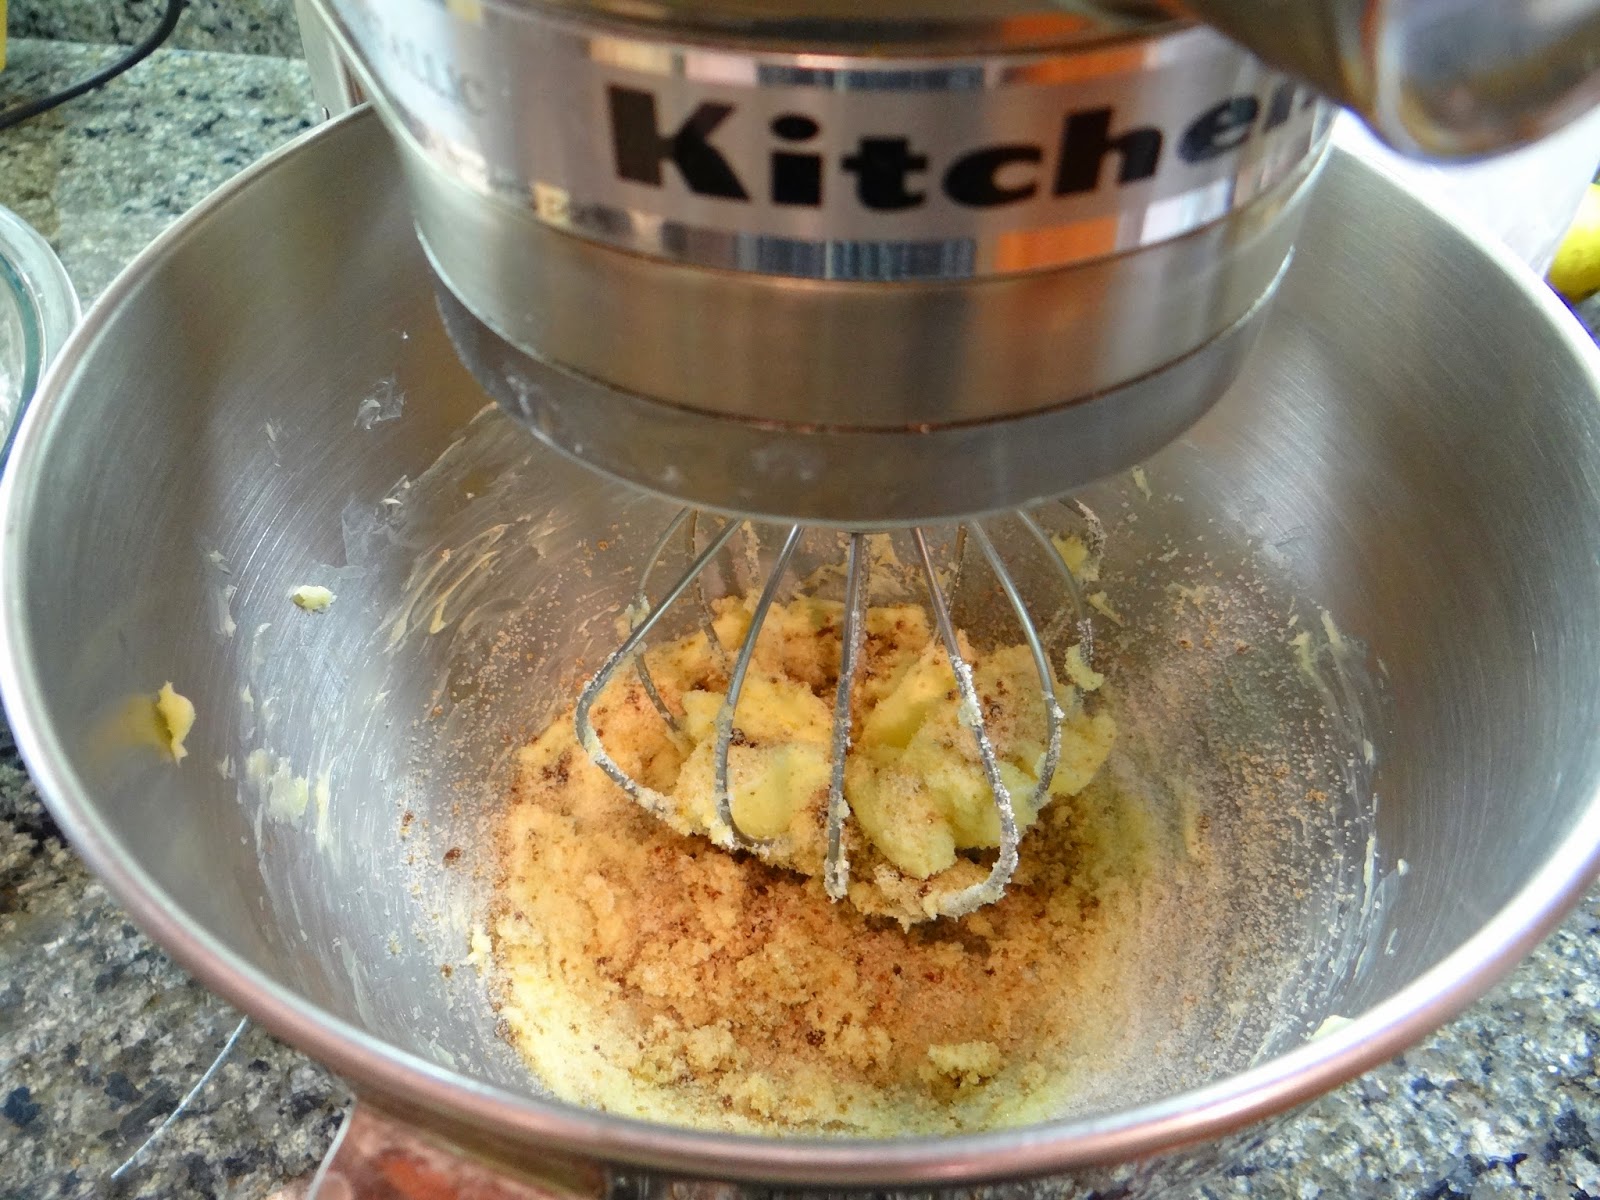
4. In the bowl of a stand mixer, beat your butter until it's creamy, about 30 seconds.


5. Add the brown sugar and beat on high speed until lightened in color, 3-4 minutes.


6. Beat in the eggs, one at a time.


7.  Add the pumpkin puree and beat until just blended.


8.  Add the flour mixture in three parts, alternating with the milk and vanilla mixture, beating on low speed and scraping down the sides of the bowl if necessary.


9.  Here it is, ready to go in the pan.


10.  And into the pan it goes.


11.  Put in the oven and bake about one hour, or until a toothpick comes out clean.  This took an extra maybe 20 minutes with my oven.  You want bread that is moist, but NOT runny!  When it's done, remove it from the oven and let it rest for 10 minutes before attempting to take it out of the pan.


How gorgeous does this look?


This pumpkin bread did not last long in our house.  Thankfully, I made enough puree to make a second loaf.  I'm going to experiment with butternut squash too.  This bread is so nice and spicy, and not too sweet.  You can also make it with canned pumpkin puree (NOT pumpkin pie filling!) if you don't have cooking pumpkins on hand.