

I've been making bread for my church for a long time, and it's usually challah bread. It's sweet and flaky and tastes good in small pieces. This week, I decided to try out a new challah recipe, by Peter Reinhart. It calls for eight (EIGHT!) egg yolks, and while I try to be generous with the communion loaves, that's a lot of eggs to sacrifice for two loaves of bread. So this will probably be a special occasion challah. It's definitely worth it though!
Also, my lovely assistant is none other than Little Bread Dude!
For two large loaves, you will need:

2 1/4 cups lukewarm water
1 1/2 tablespoons yeast
8 egg yolks (keep one egg white for an egg wash later)
5 tablespoons of vegetable oil
4 tablespoons honey
1 tablespoon vanilla extract
7 1/2 cups (or 964g) all-purpose flour
1 tablespoon salt
2 tablespoons water (for the egg wash)
2 tablespoons poppy seeds or sesame seeds
1. In a large mixing bowl, stir together the water and yeast and let sit for five minutes to proof.


2. While you are waiting, separate your egg yolks if you haven't done so already.
3. Add your egg yolks, oil, honey and vanilla extract to your yeast mixture. Whisk to combine.


4. Add the flour and salt to your bowl and mix using your hands. Let the dough rest for ten minutes.
 |
| Checking the scale for when it hits the right number of grams - the only ingredient I measured in weight, not volume |

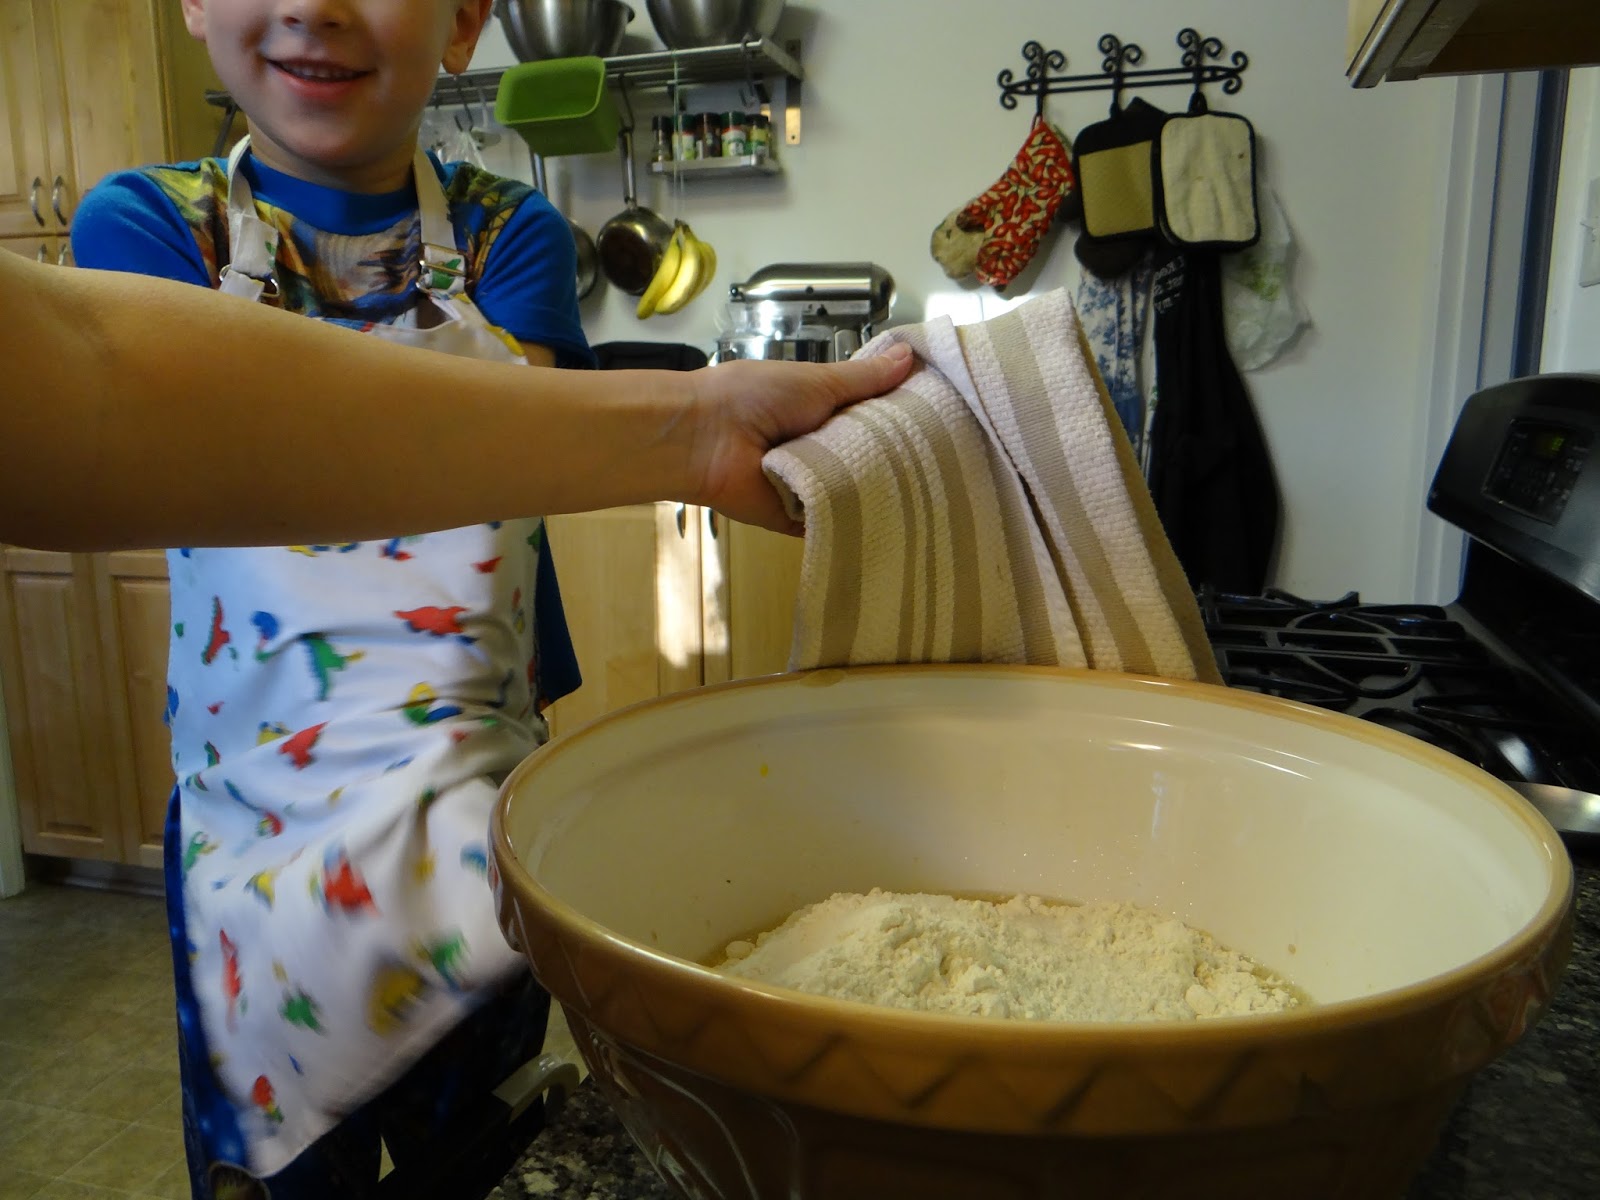 |
| For Little Bread Dude I placed a folded hand towel under the bowl to sturdy it as we mixed and kneaded |

5. Transfer the dough to a floured surface and stretch and fold a few times. Let it rest while you clean out your bowl and oil it.


6. Transfer the dough back to your bowl and rotate it a few times to coat it with oil. Cover the bowl and let your dough rise for 1-2 hours, until it has doubled in size.

7. Punch the dough down and remove the dough to a floured surface. Using a knife or bench scraper, divide the dough into six equal pieces. Usually I weight the pieces but this time I just estimated which resulted in one huge loaf and one small one.

 |
| Sometimes you need to drum on the dough pieces |

8. Roll each piece into a ball, then using your fingers, stretch the ball out into a long coil. Fold three strands together at one end, then braid them together gently. Fold again at the other end of your braid. Repeat with the other three strands.


9. Transfer your braided loaves to baking sheets lined with parchment paper. Make an egg wash using the egg white and two tablespoons of water by mixing them vigorously with a fork, then brushing the top of each loaf with the egg wash. Cover the loaves with plastic wrap and let rise again for about 30-45 minutes.


10. Preheat the oven to 400 degrees F. Remove the plastic wrap and brush each loaf with the egg wash again. You can discard the egg wash now. Sprinkle the loaves with the seeds.
 |
| I like a lot of sesame seeds, since so many of them fall off when you slice into the loaves |
11. Put the loaves in the oven and bump the temperature down to 350 degrees F. Bake 20 minutes, rotate the pans and bake another 15 - 30 minutes until they sound hollow when thumped and/or the inside of the dough registers 190 degrees F using a kitchen thermometer.
 |
| These breads don't look as golden brown as usual, but they measured 190 degrees F and passed the thump test I think it's because half-way through baking, my husband placed a ceramic plate above them, reducing the convection heat transfer and limiting their ability to brown. |
12. Take the breads out of the oven and let them cool for an hour before slicing them.

If you want to learn more about my baking adventures with Little Bread Dude, check out my tips on baking with kids post.
As always, thanks for reading!


