

Right now we seem to be overrun with zucchini and squash, how about you?
This is a great recipe for using up squash. You use 2 zucchini (or summer squash) for 12 regular-size muffins and 12 mini muffins, or 18 regular-size muffins. I like the mini muffins because they are so cute and you can just pop them in your mouth.
I got the original recipe here, although I made a few changes (swapped nutmeg for allspice, more oil, didn't use her topping, swapped maple syrup for honey)
You will need:
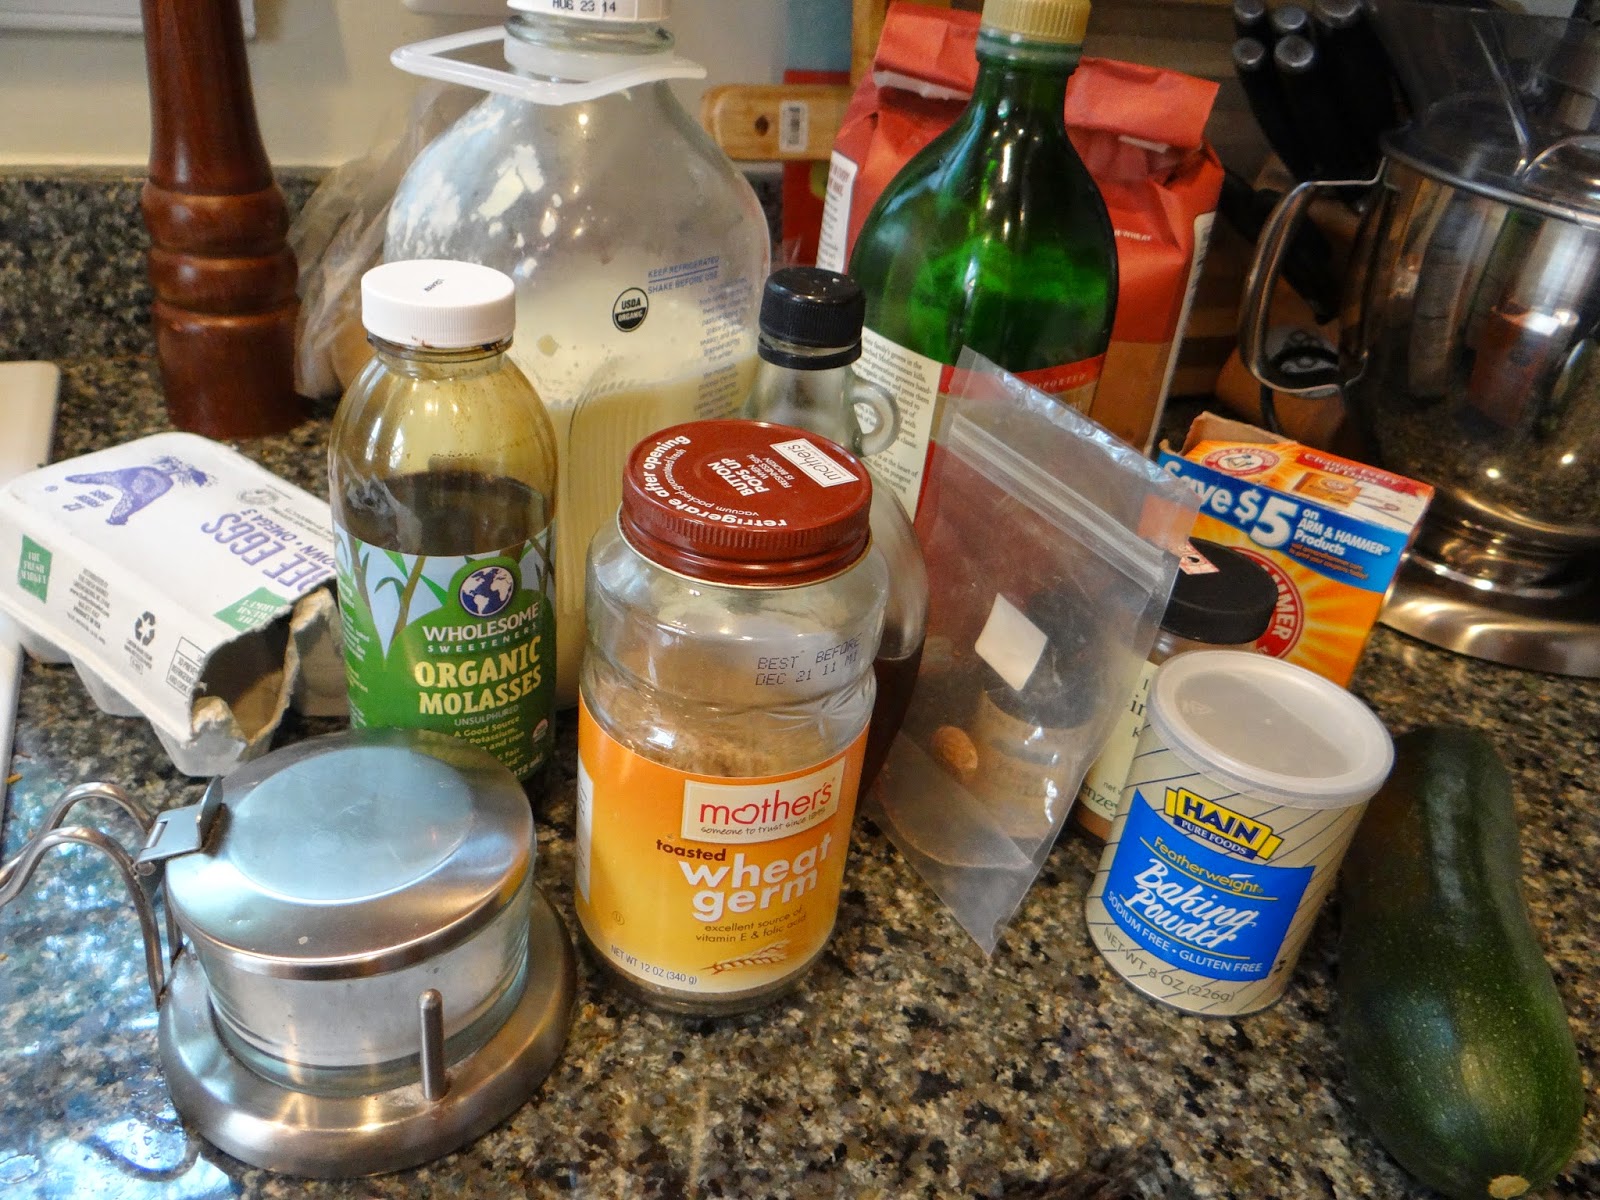
Dry Ingredients:
5.75 oz Whole Wheat Flour
2 oz wheat germ
1/4 teaspoon salt
1/2 teaspoon baking soda
1 1/4 teaspoon baking powder
2 teaspoons ground cinnamon
1 teaspoon ground or fresh nutmeg
1/2 cup brown sugar
Wet Ingredients:
1/2 cup milk
1 egg
2-4 tablespoons olive oil
2 tablespoons maple syrup or honey
2 grated summer squash or zucchini, about 1 1/3 cups grated
1 tablespoon vanilla extract
Butter for greasing the muffin pan
1. Preheat the oven to 425 degrees F. Use butter to grease either a 12-cup muffin tin and a 12-cup mini muffin tin or an 18 cup regular size-muffin tin. Set aside.

2. In a large bowl mix together all your dry ingredients.

But wait! What if you don't have brown sugar, just white sugar? Here is an awesome trick I learned a few years ago. It has saved me from buying brown sugar, only to see it become rock hard because I didn't use it up fast enough. This way, I always have the right amount of brown sugar. Measure out the amount of sugar you need (so if you need 1/2 cup brown sugar, measure out the 1/2 cup of white sugar). Now add about 2 teaspoons of molasses. Using a fork, mash the molasses into the white sugar until it is evenly distributed thusly:


3. Ok, now we can move on. Grate your zucchini.

4. Transfer the squash into a medium-sized bowl or mixing bowl and add all the wet ingredients to it. Whisk to combine.

Mine was looking much drier than the pictures in the original recipe post, so I was a little worried.
5. Add the wet squash mixture to the dry ingredients and, using a spatula, gently combine.

At this point, it was clear my mixture was too dry.

I have made my share of muffins this year, and I've learned a little bit about how to "fix" little challenges like this. For some things, like pancakes, you can add an extra egg and it'll be fine. However, in my experience adding an extra egg to muffins makes them too chewy. Instead, I added a few more tablespoons of oil. Did the trick!
6. Using a measuring cup or muffin scoop, fill the muffins almost to the rim. For this, I like using a 1/4 cup for the regular-sized muffins and a tablespoon for the mini muffins.

7. Transfer them to the oven and knock the heat down to 400 degrees F once they are in. Bake for 10 minutes for the mini muffins and 15 minutes for the regular muffins.

Fresh out of the oven!
8. When they are cool enough to handle, run a knife around the edge to extract them and move them to a cooling rack.

Glad I captured a finished mini muffin before Little Bread Toddler ate them all!

We like to let these cool completely, then freeze them in a ziplock bag. On weekday mornings, we warm them in the microwave and it's a great, quick breakfast.
Hope you enjoy them!