Tuesday, November 24, 2015

My favorite recipe for hamburger buns and rolls - UPDATED!


With Thanksgiving just days away, I thought I would re-post my hamburger buns recipe.  This recipe is perfect for rolls with just a few tweaks.

Since I first published this recipe three years ago, I've made a number of changes to the ingredient list and the baking process I use. 

Revision 1. Substitute back in the milk.  Last time I said to use chicken stock for lighter buns, but I think the recipe can work either way.

2 1/4 tsp yeast (one packet)
3 tablespoons warm water
3 tablespoons sugar
1 tsp salt
one large egg
5 tablespoons (or 71g) softened butter
1 cup chicken or vegetable broth, or milk
2 cups bread flour
1-2 cups all-purpose flour
dash of olive oil
one large egg (for egg wash)


 The Joy of Cooking is one of my favorite cookbooks.  I learned to cook from this book.  The Bread Maiden Clan's favorite roast chicken, pancake, and chili recipes can all be found in this book.

Not to mention, the following hamburger bun recipe.  Over the years I have made this recipe a bunch of different ways, substituting wheat flour for white, vegetable oil for butter, and so on. I find myself using this recipe for all kinds of things.

It's technically the "milk bread" recipe, but I've made one big alteration here.  Instead of using milk, which results in a dense, chewy bun, I use chicken or vegetable stock, which makes them lighter and fluffier.  If you need a chicken stock recipe, here's mine (scroll down to CHICKEN STOCK).

YOU WILL NEED:


2 1/4 tsp yeast (one packet)
3 tablespoons warm water
3 tablespoons sugar
1 tsp salt
one large egg
5 tablespoons (or 71g) softened butter
1 cup chicken or vegetable broth, or milk
2 cups bread flour
1-2 cups all-purpose flour
dash of olive oil
one large egg (for egg wash)

1. Proof the yeast by putting the water in the bottom of a bowl (or the bowl of your stand mixer) and sprinkling the yeast on top.  Let it sit for about five minutes.
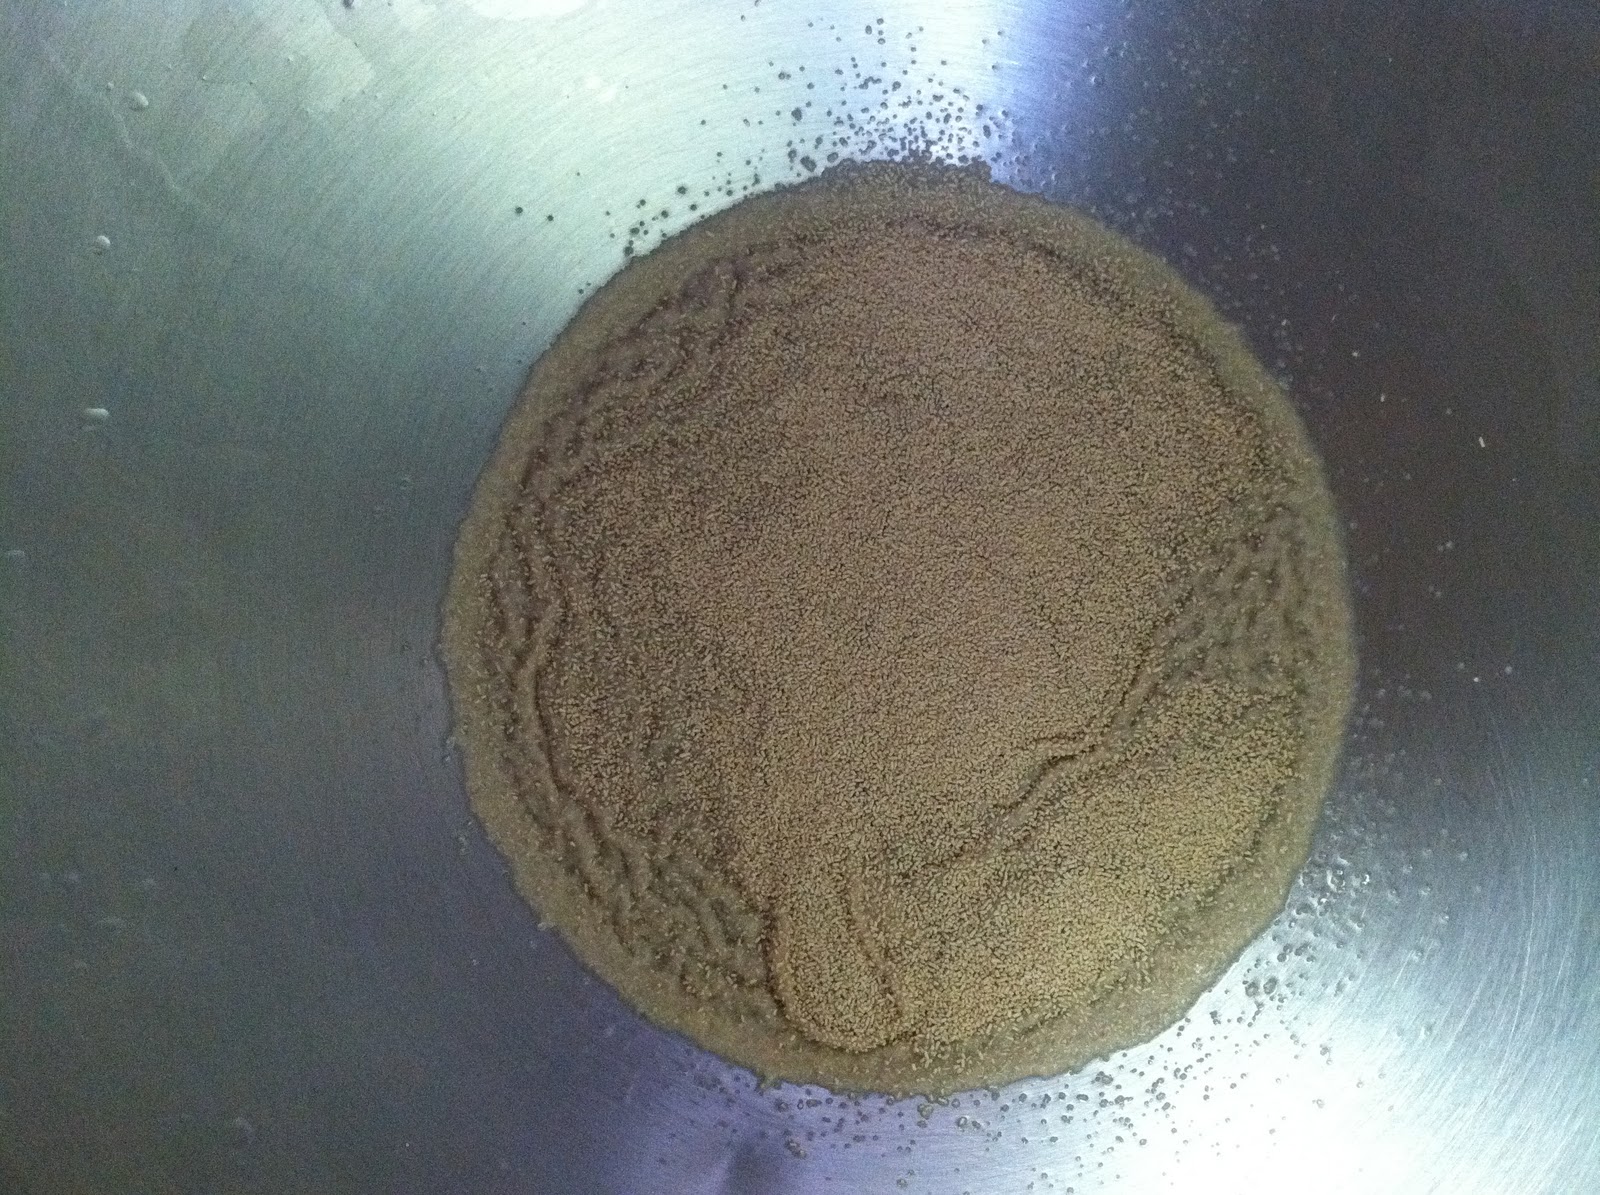
 
After five minutes, it should be puffed up slightly and have a yeasty smell.


2. To the bowl, add the milk or broth, softened butter, sugar, salt, and egg.


3. Using the paddle attachment on your stand mixer or a spoon, mix thoroughly.


4. Slowly add the 2 cups of bread flour with the stand mixer on low speed. Mix until the dough is moist but not sticky, about a minute or two.


Before we get to step 5, let's talk about baking for a second.

Most people who don't like baking say, "I don't like baking because it's too technical and you have to measure things exactly or else it won't work."

These people think as long as you measure out the ingredients exactly as indicated in the recipe, it will come out perfect, but if you stray too far from the recipe, all is lost.

Not so, my friends.

Baking actually calls for a great deal of flexibility, depending on the weather, the strength of the other ingredients, how they work together, and even how adventurous you're feeling that particular day.

I'm not saying you can just throw in or omit ingredients willy-nilly.

But the way to bake is by following the dough and how it feels and looks.  It takes time to figure out.  It takes making a recipe more than once.  But once you get comfortable seeing the signs for how something should look and feel, I guarantee you will always have success baking.

Now back to these dinner rolls.

5. With your stand mixer still on the low setting, slowly add the remaining two cups of all-purpose flour.

BUT WAIT!

This is important.  Add the all-purpose flour about a half cup at a time. WATCH the dough.


Around the 1 1/2 cup mark, it should start gently pulling away from the sides of the bowl, forming a ball on the paddle.

If it isn't doing this, add the final 1/2 cup of flour.

Once it is slightly pulling away from the bowl, turn off the stand mixer and remove the paddle, replacing it with the bread hook.


6. Once the bread hook is on, turn the mixer onto medium-low speed and mix the dough for about 10 minutes.


After five years, my mixer needs a little assistance.


The dough should really pull from the sides of the bowl and form a ball on the bread hook. 

After ten minutes, the dough should be elastic and smooth.

7. Pour a dash of olive oil into a large bowl.  Take the ball of dough out of the mixer and spread it in the bowl to coat it in oil.  Cover with plastic wrap and a kitchen towel and let it rise for about 90 minutes to 2 hours.


  After two hours:


Perfect!

8.  Once it has risen to twice its original size, gently punch the dough down, take it out and knead it in your hands a little bit, then return it to the bowl, recover with plastic, and refrigerate for 30 minutes.  You'll probably want to preheat your oven at this point to 425 degrees F.

9. Take the dough out of the refrigerator and move to a flat surface.  You will need a pastry cutter and a kitchen scale for this part, if you want perfectly evenly-cooked buns.


Take the plastic wrap off the bowl and use to cover your kitchen scale, so it doesn't get all greasy from the dough.

Using the pastry cutter, divide your dough into quarters or so.


Revision 2.  Rolls should be smaller.  Last time I said rolls should be about 75g.  Now I make them about 58g.  Hamburger buns still should be about 95 to 100g.

Weigh each piece of dough and adjust accordingly until each piece is uniform in weight.  Roll into balls and put on your...
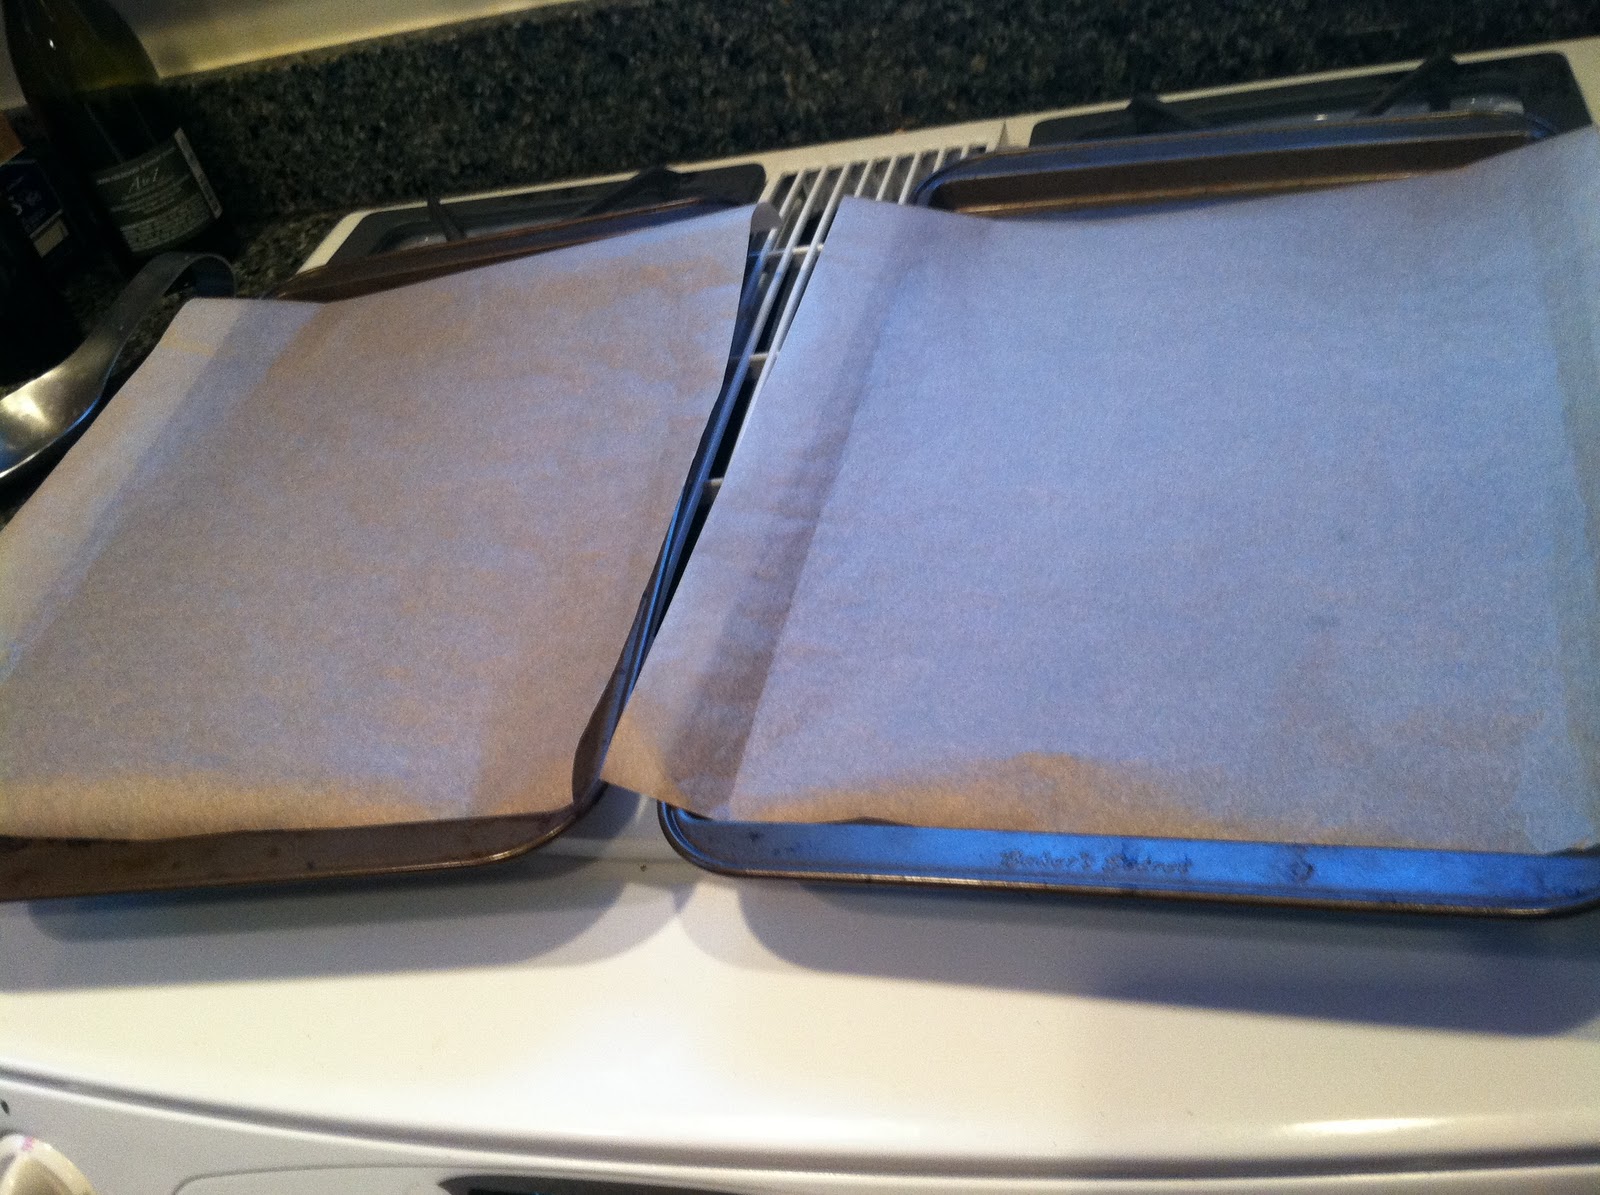

...parchment-lined baking sheet.

 Revision 3. If you are making rolls, use a parchment-lined baking dish and place all 18 rolls in one baking dish so they lightly touch each other.  The rolls will bake together and have soft sides when they are peeled apart. 

Once you have your buns on the baking sheets, score them using a sharp knife.  Just draw a little cross on the top.


If you are making rolls in the baking dish you can skip this step.


Take your second egg and crack it into a small bowl.  Whisk with a fork, then use a pastry brush or piece of paper towel to apply the egg wash to the top of each bun.  This will make the buns nice and brown and give them a shiny coating.


Stick these in the oven for about 15 minutes, rotating the baking sheets once they've done all the rising they're going to do, at about 12 minutes.  Once again, you want to rely on sight, not just what the recipe says, to determine when to take the buns out of the oven.  Because these hamburger buns are pretty big, I'm going to bake them for longer than the allotted time, about 17 minutes instead.


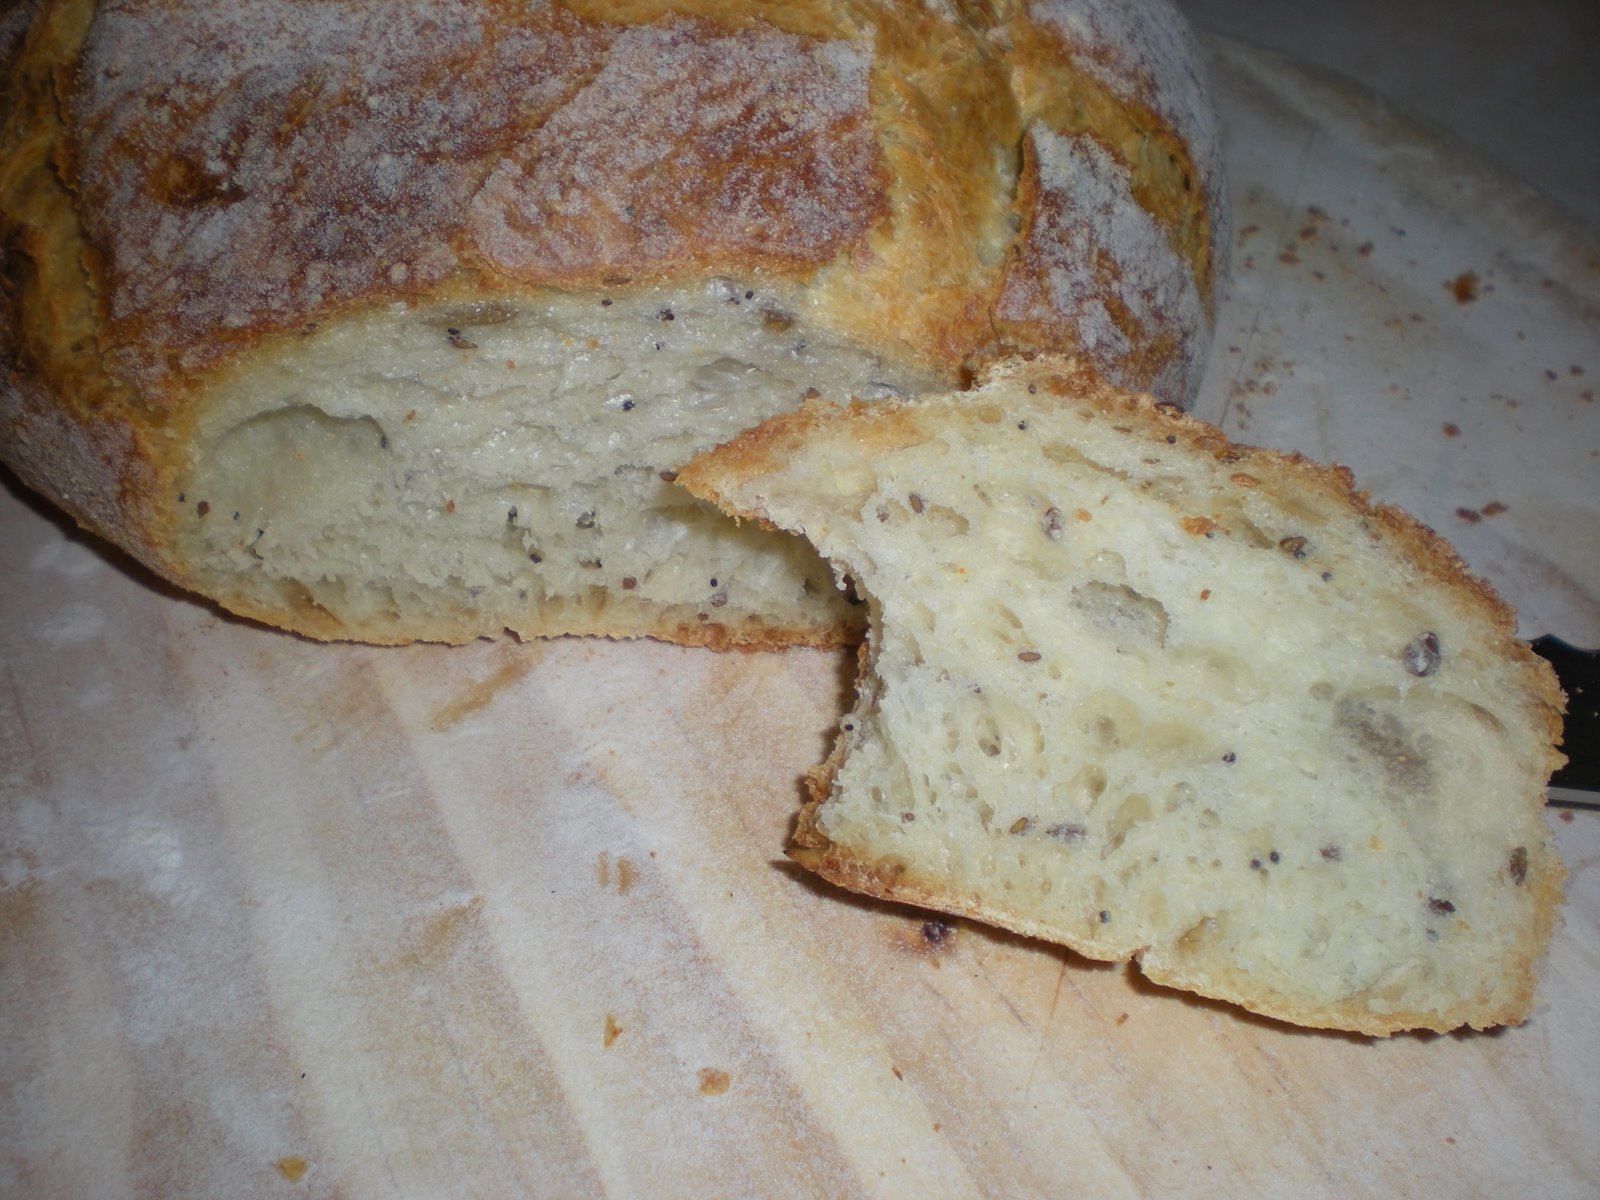
These buns look great!  And they're so easy to make.  I hope you have a great Thanksgiving everyone, and I'll see you next time!

Saturday, November 21, 2015

The Science Behind... flour


I really feel like I'm hitting my stride with these The Science Behind... posts.

After getting feedback from the first two, about sandwich bread and raspberry breakfast cake, I decided each post had maybe a little TOO much science.  I don't want these posts to be overwhelming to someone who is new to breadbaking.  So for the next few posts, I'll focus on one aspect of the breadbaking process or one ingredient or element.

If you haven't already, please check out my post on hydration and baker's percentages.

So now: let's talk flour!

In this post, I'll be discussing:

1. What is flour?
2. What are the types of flour and how are they different?
3. What happens to the flour when you make bread?
4.  How can I use flour to change up a recipe?

Flour.  It's the most important ingredient in bread.  Flour comes from grain that has been ground up into very small pieces, sometimes with one or more parts of the kernel removed so that the flour has a different taste, texture or protein level.
close-up of wheat grains, or "kernels"
2. The differences between flours can be chalked up to:
  • The type of grain used (rye, wheat, spelt, corn, barley, buckwheat, etc.)
  • What varietal of a particular grain is used.  For example, two common varietals for wheat flour are hard red winter (highest protein content) and soft white wheat (low protein content).
  • What part of the grain is used.
  • Any additions to the flour (such as "self-rising flour")

Take wheat, for example.
I used to be able to buy whole wheat kernels at the Austin Farmer's Market
There are three parts to a grain of wheat:
https://runnerbeans.files.wordpress.com/2010/04/wheat-berry-diagram.jpg

Bran, Endosperm, and Germ.

Bran has lots of fiber, but not much protein.  (hint: when you see me use the word protein, think "gluten" even though flour itself does not contain gluten but instead two proteins that form gluten in contact with water)

Germ has some protein, but not much.

Endosperm has high protein and high starch.

If you ground up all three together, you get whole wheat flour.  If you remove the bran and germ, you get all-purpose or bread flour.

This is simplifying a lot, since some varietals of wheat have high protein content in their endosperm, good for all-purpose and bread flour, and some have low protein content, which is good for cake and pastry flour.

What about self-rising flour?  This type of flour includes baking soda and baking powder already mixed in.  However, since we want to be able to control how much of each is in our dough, and we want to guarantee that the baking powder and baking soda are fresh, it's better to add it yourself.  Skip the self-rising flour.

3. So what exactly happens to bread when it's mixed into a dough?

It depends on the flour you choose and the type of bread you are making.  For the purposes of this discussion, let's assume we want to make a yeast bread like my recipe for 66% hydration bread, and not a quick bread like banana bread.  If you want to read about what happens (or doesn't happen) to flour in quick breads you can check out my post here.

Still with me?

Ok.  For my typical bread using wheat flour, water, salt and yeast, the all-purpose flour and bread flour are interchangeable.

Since both all-purpose flour and bread flour are made of endosperm and contain high levels of protein and starch, they are the perfect medium for yeast bread.  First, the sugary starch is yeast's favorite food.  So the yeast get to work chowing down on the starch and releasing carbon dioxide gas which makes the bread rise.  Second, the proteins contained in endosperm, glutenin and gliadin, combine with water to form long protein strands called gluten.  The gluten creates a net.to capture the carbon dioxide.
bread flour creates very stretchy gluten strands
The reason you can substitute all-purpose flour and bread flour in this recipe is because we use a small amount of yeast and give the gluten a long time to form.  It forms naturally over time, meaning you don't have to knead a great deal (or at all) in the beginning.  If you are in a greater hurry, you would want to add more protein to speed the process along, and knead the dough more.  You might want to use all bread flour, or a mix of bread flour and all-purpose flour.

High protein is good because it creates a stronger net to not only trap carbon dioxide, but provide greater structure for your loaf.

4.  How can you change up your bread using flour?

Flour is a great way to change up your daily bread and keep things interesting.

If you want a particularly chewy bread, such as pizza, or very large holes in your dough, like for ciabatta or french bread, you will want high protein flour.  Ciabatta and french bread are high hydration doughs, so structure is particularly important for preventing a watery mess.

Let's say you are looking for greater flavor or more nutrition.  You would use whole wheat, buckwheat or rye flour.


HOWEVER: these flours are LOW protein flour.  Meaning they do not create a strong net of gluten.  These doughs tend to do better in bread pans, which help contain them and assist with structure before they are baked, rather than in boule or baguette form.  They also do better when allowed to rise slowly.

Something else to consider about using bread flour OR whole wheat when compared to all-purpose flour is that they both require more water than all-purpose flour, but for different reasons.

I have not had success making 100% rye loaves.  I do like their flavor, so I might throw in 100g or so into an all-purpose flour loaf.  You can read about my rye bread quest here.

If you are interested, Peter Reinhart's book on whole grain breads is fantastic.

Experiment!  Throw 100g or so of rye, buckwheat, wheat germ or bran, or other flour into a basic bread flour or all-purpose flour dough and see if you can taste a difference.

If the taste of rye or whole wheat flour is too strong, experiment with honey to sweeten it or eggs, oil or milk to soften your dough.

Check out Peter Reinhart's biga and soaker technique for getting the most flavor and rise from your whole wheat dough.

Peter Reinhart's whole wheat St. Lucia buns


That's it!  I hope you have lots of ideas for changing up your dough and have learned a lot about flour!

Thursday, November 19, 2015

The Science Behind... sourdough starter


I'm so excited to share with you the science behind sourdough starter!  It can be a bit intimidating at first, but baking with sourdough isn't hard at all.  The taste is worth the added effort.

Feel free to check out my recipe for making your own sourdough starter and a simple sourdough recipe.

Here's what this post will cover:

1. What IS starter?
2. Why is it called SOURdough when it's not sour?
3. Why do I have to feed it?
4. Why do I have to discard most of the starter each time I feed it?
5. How do I know when my starter is ready to use?
6. What do I do with it?  How can I convert a recipe that uses commercial yeast to one that uses starter?

Ready? Let's begin!


1. What is starter?

Starter is known by several names - mother, poolish, levain, pre-ferment.

It's basically a mixture of flour and water that provides food and a place for natural yeasts and lactobacilli to eat and reproduce.  Yeast and lactobacilli release carbon dioxide which causes bread dough to rise.

The most common yeast found in sourdough is Saccharomyces Cerevisiae (Latin scholars will note Cerevisiae means beer, indicating that the first yeasts may have been discovered first for brewing and later in bread).   The most famous lactobacillis is L. sanfranciscensis, which gives sourdough in San Francisco its strong flavor.


2. Why is it called SOURdough when it's not sour?

It depends - some sourdough starters are sour!  The lactobacilli release lactic acid which gives sourdough its characteristic taste.  Starters become more sour over time, and the longer you go between feedings the sourer (?) it will become.   If you are actively feeding and discarding the starter frequently, it will not taste as sour.

3. Why do I have to feed it?

Yeast is alive -- and to stay that way, it needs to eat!  What does it eat?  Flour, and you mix it in ratio with water.  The hydration of your starter can be anywhere from stiff (66% water to flour ratio) to watery (100% ratio water and flour) The frequency of feedings depends on how often you will be using your starter.  If you plan on baking a loaf or two every few days, your starter can sit on your counter and you will need to feed it every day.  If you don't bake that much, you can store your starter in the fridge and feed it once a week.  If you know you plan to bake with it soon, you will need to revive your starter from its fridge dormancy for a few days before it will be active enough to use again.

4. Why do I have to discard most of the starter each time I feed it?  It feels so wasteful!

The yeast organisms need something to eat, and as they eat they reproduce, eventually filling your flour and water mixture with yeast.  Flour has both sugars (carbohydrates) and protein (glutenin and gliadin) in it.  The carbohydrates give the yeast something to eat, and the proteins provide the net to capture the carbon dioxide released by the yeast and cause the dough to rise.  If the yeast get too numerous, they will run out of sugars to eat.  They will start eating the protein strands instead, which is disastrous for your bread!  Once the yeast have converted to eating protein, your bread will always turn to mush and never form the gluten net.  By discarding most of your starter before you feed it, that will prevent the yeast from getting too numerous and eating up all the carbohydrates.

If you're worried about wasting all that flour and water, you can still use the discarded starter in other recipes to add flavor.  You just won't be able to rely on it for its leavening properties.  King Arthur flour (not an ad) has some ideas for using up discarded starter here.


5. How do I know when my starter is ready to use?

You will know it's ready to use when it's very bubbly and visibly rises in the twelve hours (or sooner) after a feeding.  Sometimes it's easy to tell the starter is ready - when you try to open the lid of the jar you use, there will be pressure released from all the carbon dioxide building up inside.


6. How do I use starter?   How do I convert recipes that use commercial yeast to use sourdough starter instead?

Here is where bread math comes in!  For most recipes, it is very easy to swap sourdough for commercial yeast.  Where you DON'T want to do this is in very sweet and enriched breads; the sourdough can give a sweet bread an "off" or stale taste.  I've also found that when I make the small pieces of bread for communion, sourdough tastes stale.  By keeping the ingredients spare, you will allow the sourdough flavor to shine through.  My 1-2-3 sourdough is perfect for this.

By feeding the starter 100g of flour and 75g of water, you have made a 75% hydration starter.  This might be just fine for a dough that is 65-80% hydration.  You can just add a 1/2 cup of starter and you'll be good to go.  But if you are looking to make a bread that requires a very wet dough, such as a ciabatta, you will want to calibrate your dough so the final dough will be the hydration you want.

Say you want your final dough to be 100% hydration, but your starter is 75% hydration.


What you'll do is use the following two equations to figure out:

1) how much flour and water by weight is in your starter
2) how much extra flour and water you need to add to your starter to get a dough that is 100% hydration.

An average bread will weigh about 750g.  If that's the case, a 100% hydration dough will have (minus 9g of salt) equal weights of water and flour.  So that's about 370g of water and 370g of flour TOTAL, including the flour and water in the starter.  so you need to figure out how much water and flour to add to your 75% hydration starter to get a final loaf that is 100% hydration.


So here's what we have to start with (if you're still following me):
total dough weight (minus salt) = 741g
starter hydration=75%
total dough hydration=100%
starter weight= let's just say you plan to use 125g of starter

1) For the first equation, you will need the following pieces of information:
starter weight=125
starter hydration=75%

Since we're familiar already with baker's percentages, we know that flour always equals 1, or 100% compared to the other ingredients. So:
Flour = 100%
Water = 75%

Add them up, and you get a total of 100%+75%= 175%.

125g of starter ÷ 175 = 0.714
Flour wt. = 100 x 0.714 = 71.4g
Water wt. = 75 x 0.714 = 53.5g

125g of starter = 71.4g of flour + 53.5g of water.

2) Now that we know the weight of the flour and water in the starter, it's a simple subtraction problem to figure out how much flour and water to add to the dough to get a final dough that is 750g and 100% hydration.  

For this equation, we will need the following pieces of information;
Total dough weight (minus salt) = 741g

Total flour weight = 370g
Total water weight = 370g
Flour weight starter = 71.4g
Water weight starter = 53.5g
now set up the equation like this:


Extra flour needed to add to dough = 370g - 71.4g = 299g
Extra water to add to dough = 370 -53.5 = 317g

So to reach our desired 750g dough, we will need:
125g of starter
9g of salt
299g of flour
317g of water

And we will have our 100% hydration loaf!


Whew!  I hope you found this post helpful... or at least not too terrible!  I'll try to follow this up with a recipe post to give your brain a break. Thanks for staying with me to the end.

Wednesday, November 18, 2015

Update on the sourdough starters

I have some sad news, y'all.


For the past week, I have been feeding these starters in an attempt to revive them after dragging them from Texas to Virginia FIVE YEARS AGO.

We've been through a lot together, these starters and I.

Two states.  Four homes.  Three moves.  Two children.  Lots and lots of bread.

I thought they would pull through.  There was some visible activity at first.  But after zero activity for the past three days, I removed the lid and smelled acetone.  That means the starter has converted, in the absence of food for the past five years, to eating gluten protein instead of starch.  So even if I did somehow manage to get the starter active and bubbly, I couldn't bake with it because it would eat the gluten and create a gloppy mess.


But there is a happy ending to this story.  

In this post, I mention that at some point in 2008, I gave some of my starter to Mr. Bread Maiden's mother, aka Slow Learner (her chosen nickname, not one I would EVER call her!).  I killed off my starter at some point in 2009, after which she gave me some of her starter, which had begun with my seed culture.  Since then, she has continued to keep hers going strong, and I will probably get another sample from her this weekend.  So even though I'm a terrible sourdough starter parent, I will try my best not to neglect it quite so long this time.

Expect a post from me (a chastened sourdough parent) about sourdough starter next week.

Monday, November 16, 2015

The Science Behind... hydration and baker's percentages


One of the most important aspects of baking is the ratio of flour to water.  Getting the ratio right can mean the difference between a loaf that rises correctly and bakes nicely in the oven, and one that is too dry or too limp to shape correctly.

In this post, I will be discussing:

1. What is hydration?
2. Why is it important?
3. How do I calculate a baker's percentage?
4. How does hydration affect my bread? 

This ratio of flour to water is called hydration (naturally), and once you get the hang of it, bread baking is easier, cleaner, more successful, and faster.

When I teach Bread Camp, the first thing I tell participants is to go out and buy a kitchen scale.

Don't worry, I'll wait while you go to the store.


Why is a kitchen scale so awesome?

Because you can measure ingredients more accurately with a scale, measuring them by weight, than you can by measuring their volume.

When you measure flour by volume, so many things can throw off an accurate measurement.  How you scoop the flour, whether you sift it first, the humidity in the air, etc.  When you measure it by weight, however, it is always the exact amount regardless of these interfering factors.

Also, measuring ingredients by weight means you can measure everything into one bowl, instead of getting every spoon and cup in your drawer dirty.  You only have one unit of measurement, grams or ounces (whichever you prefer), instead of having to convert spoons to cups, or milliliters, or fluid ounces.  Just zero out your scale after each ingredient.

Having a kitchen scale also makes calculating hydration easy.  But we might be getting ahead of ourselves.

First, what is a good ratio of flour to water?

Good question.  It depends on what type of bread you want to make.  It also depends on the type of flour you want to use (more on that in a second).

In a baker's ratio, the flour is always the 1 in the ratio.  The hydration level tells you the percentage of water in relation to the flour.  Workable hydration levels for bread fall between about 66% and 100% hydration.  So for every 100g of flour, for example, your recipe might call for 66-100g of water.  My usual go-to bread, that I can make with my eyes closed, calls for 375g of flour and 250g of water.

250/375=.66

Therefore, it's a 66% hydration dough.

Hydration can affect the pliability of your dough and how easily you are able to handle the gluten strands to shape the bread into a nice shape for baking.  A low hydration dough is easier to handle than a high hydration dough.

What is so awesome about baker's percentages?

1) If you know the hydration of the dough you want, it is easy to scale up or down depending on the number of loaves or the size loaves you want to make.  Volume measurements are easy to double or triple, but if you want to make a single loaf slightly bigger, you are out of luck.

2) If you make a mistake, it is easy to correct.  I REPEAT: IF YOU MAKE A MISTAKE, IT IS EASY TO CORRECT.  This is so major.  Sometimes, when you measure out ingredients by weight into the same bowl, accidents can happen.  You can pour too much of this or that, and if you were using volume measurements, you would be stuck.  How would you know how much water or flour you had added?  You could try to scoop out some of the extra, but you still don't really know how to fix it for certain.  With a scale, if you've been zeroing out between each ingredient, then you know exactly how much you added.  And even better, it's a snap to compensate for the mistake using a simple equation.
I think I'll just use this picture from now on to warn readers that bread math is coming up.
Let's say you want your bread to have a 66% hydration level.  If you accidentally added 500g of flour, you just need to solve for the amount of water.

x/500g = .66
.66*500=333.3

So to compensate, you would need to add 333g of water (give or take; there's no need to measure to the decimal level with grams)

See?  Super easy.

Here's a little secret: you can go up or down twenty or so grams of flour or water from the exact ratio weights and your dough will be just fine.

Ok, sure, but what does it mean that your bread has 66% hydration?  What does that look like?

When you're working with all-purpose flour, a 66% hydration dough is going to be your standard sandwich bread, with a tight crumb and small holes.  The dough is easy to shape and the gluten strands hold the shape tautly.


A 75-85% hydration bread is going to have bigger holes.  This is your french bread or other boule-type bread with crackly crust and large holes inside.  This dough requires a few stretch and folds over the course of the first rise in order for it to maintain its taut gluten structure.


Anything above 85% is going to be tricky to shape.  These are your ciabattas or some pizza doughs.  The dough is very slack and does not maintain its tautness at all.  It doesn't stay in a ball shape as it rises.  It develops the largest holes and a crispy crust.
Dough doesn't retain shape during rise

http://www.kingarthurflour.com/blog/files/2009/02/img_a3558.JPG
link to pizza recipe here
quick breads always have high hydration levels - over 100%
But the high hydration of quick breads doesn't affect their structure because eggs provide most of their structure, not gluten.
I'm super excited about hydration!  Is it really that easy?

Well, yes and no.  As I hinted at earlier, hydration levels stay the same no matter what type of flour you use, but how the dough looks and feels at each hydration level is going to be different if you use bread flour, whole wheat flour, or all-purpose flour.
wheat berries
sprouted grains
whole wheat bread
For bread flour or whole wheat flour, you will need to add MORE water to achieve the same results as you would with all-purpose flour.  Both bread flour and whole wheat flour absorb more of the water, so at a given hydration level the dough will feel drier.  How much more water should you add?  About twenty grams or so more should be about right.  However, do keep in mind that you will never get big holes from whole wheat flour.  It just doesn't have a high enough percentage of glutenin and gliadin proteins to form long, strong gluten strands, even with heavy kneading.

But what about the other ingredients? Salt and yeast? How do those factor into hydration?

Well, short answer is, they don't.  Hydration is purely the relationship between flour and water.  But baker's percentages do account for salt and yeast as a percentage of the weight of the flour.  I personally don't use baker's percentages for yeast and salt because I find it's much easier to just throw in a teaspoon of yeast and a teaspoon of salt per ball of dough and call it a day. Yeah, I'm lazy like that.

Hydration is affected by other liquids which are added to the dough, such as milk, eggs, butter or oil.  I talk about calculating for those ingredients in this post.


As for adding a starter to the dough, you can check out this post for more information (a biga is another word for a firm starter - one with low hydration).

So, that's about it for hydration.  I hope this post was useful to you and gives you more confidence in the world of baking!