Sunday, June 16, 2013

Cheddar rosemary bread


I feel pretty confident in my bread making abilities.  People tend to like bread I bake, and I accept their praise, because it took a few years to get the hang of it and I do feel like I've earned it.

But sometimes a bread recipe comes along that is just so amazing that I don't feel like I had a hand in what made it so great.  The ingredients and technique are so awesome on their own that my part was really just to get them from potential to realization.

This is one of those recipes.  It's by the always fantastic Peter Reinhart, whose books I simply adore.

Step 1: Get your hands on a copy of Artisan Breads Every Day.


Just kidding.  But you really should.

Ok, depending on whether you have an hour beforehand to make buttermilk, you will either need 1 cup plus two tablespoons of milk and a tablespoon of white vinegar, or you can just buy the buttermilk.  If you have the choice, I would say to try making the buttermilk because store-bought is always low fat, and by making your own you can use full-fat milk and your bread will be softer and more delicious.  Just a thought.  Once you add the white vinegar to the milk, keep it in the refrigerator for an hour.  It will develop a clumpy consistency.


I used Peter Reinhart's soft cheese bread recipe, which calls for onions or chives but I substituted rosemary because I woke up yesterday morning with a craving for rosemary bread.  It was awesome.

You will need:


6 1/4 cups (794g) bread flour (I used half bread flour and half AP flour because I ran out)
2 tsp salt
3 1/2 tablespoons honey
1 cup lukewarm beer (I used stella artois because that was the cheapest we had)
your buttermilk
1 1/2 tablespoons instant yeast
1/4 cup melted butter
one small bunch of rosemary, minced
1 1/2 cups grated sharp cheddar cheese (the PR recipe calls for 2 1/2 cups, but I ran out and it was fine)

1. Whisk the flour and salt together in a large mixing bowl.

2. Combine the beer, buttermilk and honey in a measuring cup then sprinkle the yeast on top.


3. Add the liquid mixture to the flour mixture and toss in the melted butter as well.

 
4. Using a large spoon, mix to combine the ingredients.  When you can't easily use the spoon anymore, ditch it and mix with your hands instead (make sure they are clean).  Use a folding technique where you scoop one side from underneath and fold it over the top of the dough.  Almost like you're folding a shirt or something.


5. Let the dough sit for ten minutes to rest, then sprinkle the rosemary on top.  Fold a few more times to incorporate the rosemary.


6. Transfer to a clean, lightly-oiled bowl, cover with plastic wrap, and let rise for about 60-90 minutes until doubled in size.

7. Lightly flour your work surface.  Take the dough out of the bowl, punch it down gently, and divide it into two loaves.  Flatten the loaves out with your hand, then spread half the grated cheese on top of each loaf.


8.  Peter Reinhart's recipe just calls for you to roll up the loaf so the cheese is a spiral, but I wanted the cheese to be more evenly distributed so once I rolled it up, I folded it a couple of times, let it rest, then folded a couple more times.


9. Transfer the dough to a piece of parchment paper, cover with plastic wrap, and let it rest for another 60 minutes.  Preheat the oven to 350 degrees F.  When baking boules I like to bake them in the oven in the dutch oven so they puff up before the crust gets hard.

10. Once the oven is preheated, remove the plastic wrap, score the top of the loaf, and carefully place in the dutch oven.  Cover with the lid and bake for 30 minutes.  Remove the lid and bake another 15 minutes.
 

This bread is freaking awesome.  The buttermilk, beer and cheese give it an awesome tang that is irresistible. 


All the big tunnels are full of cheesy deliciousness.

Go make it!  Now!

Chocolate red wine cake

 
If you've never heard of Smitten Kitchen, you need to.

I had heard her mentioned off and on for a few years, but it wasn't until I heard an interview with her on the Diane Rehm show that I realized how awesome she was.

Smitten Kitchen is the blog of Deb Perelman, who lives in New York and cooks awesome things.

During her interview with Diane Rehm, she rattled off a recipe for cucumber and cabbage slaw.  Since then I've made it a bunch of times and it's really simple and delicious.

Then, during Passover, a dear friend was coming to dinner who was keeping kosher.  I found a recipe for chocolate caramel matzo crack and it was seriously so good.  I was considering hiding it before she came over so I wouldn't have to share.

Deb (can I call you Deb?) has never steered me wrong.  Everything I make of hers looks exactly like her pictures promise it will.  I need to buy her book already.

So my third recipe of hers was one I've been wanting to make since I first came across it a few years ago.

I made this cake for my book club and they just loved it.  The combination of the chocolate and red wine was amazing, and the cinnamon gave it just the right amount of spice.

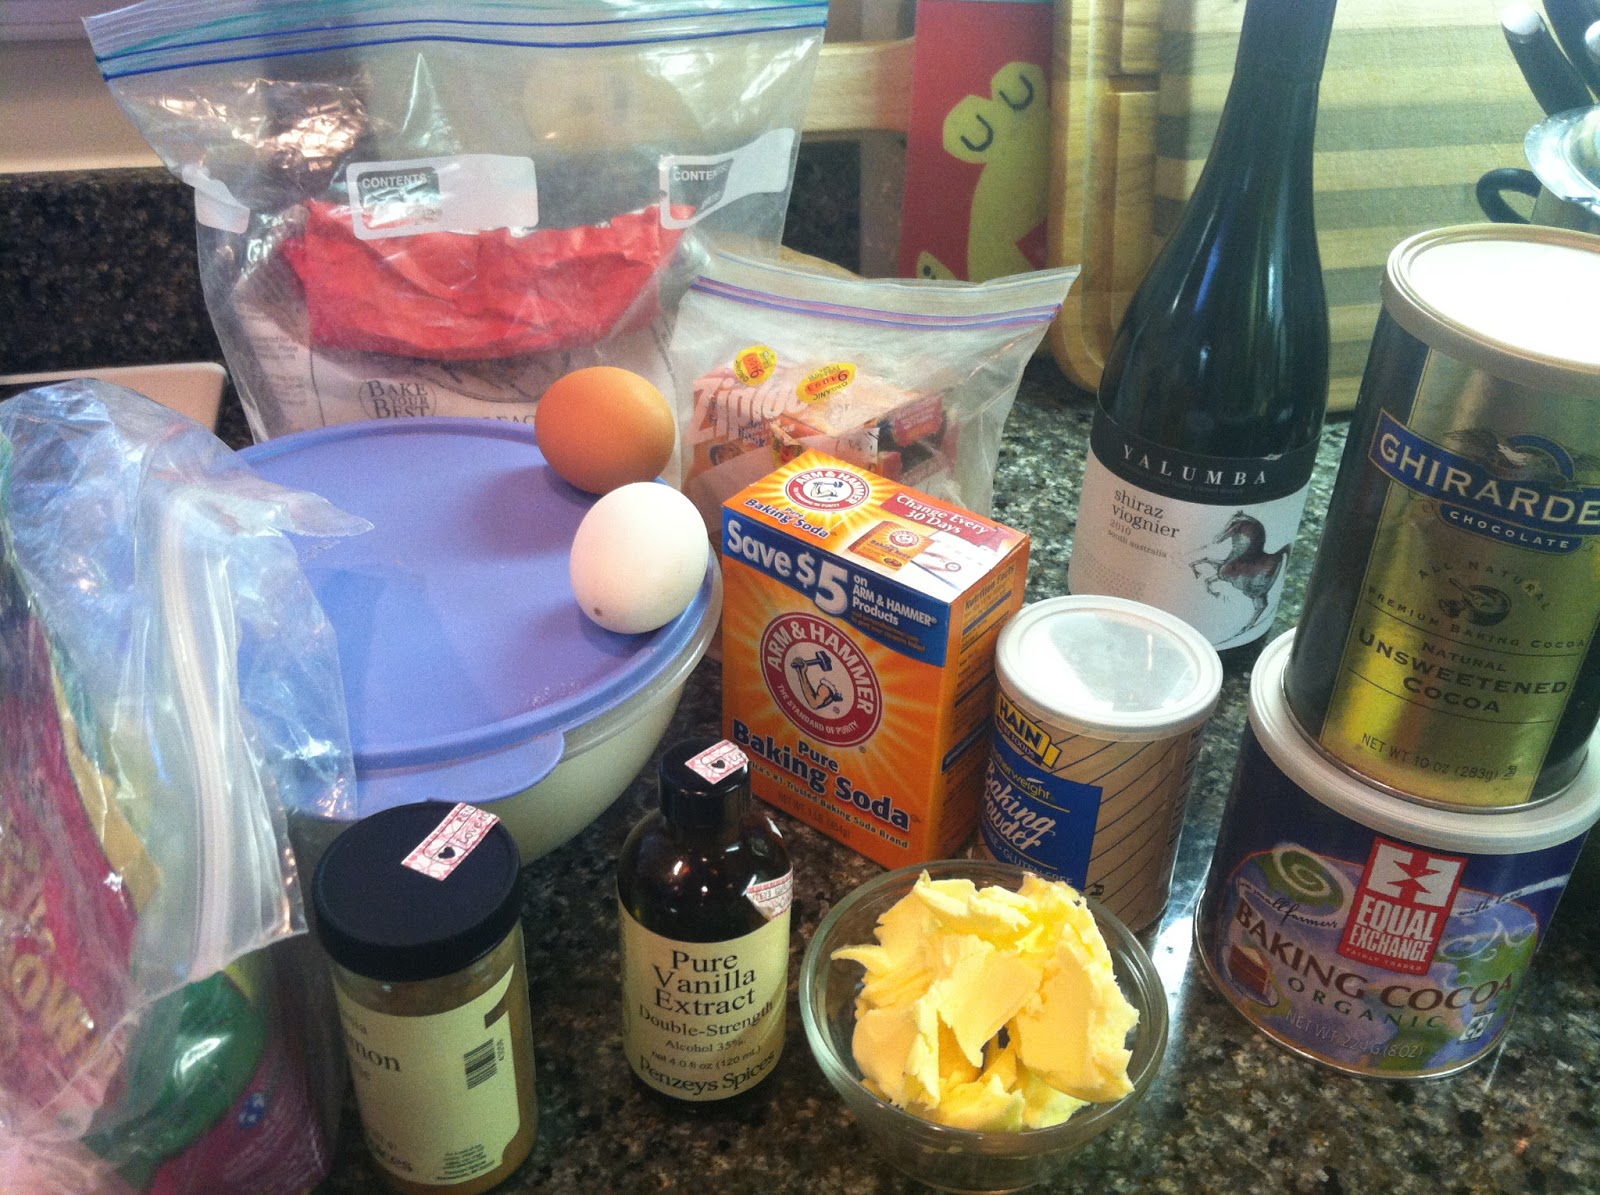
I won't give the measurements because I would rather she get the hits on her blog, but here is a list of the ingredients and how I made it:

You will need:


Butter, room temperature
brown sugar
granulated sugar
1 egg + 1 egg yolk, room temperature
vanilla extract
AP flour
dutch cocoa powder
baking powder
baking soda
ground cinnamon
table salt

Once you have all your ingredients, now you will want to mis en place them.


Mix together your brown and granulated sugars into a bowl.


 Mix together the flour, chocolate, baking powder, baking soda, salt and cinnamon in a measuring cup.  This will make it easier to add a little bit at a time to the final dough.


Now measure out your wine and add the vanilla to it.


I should mention, at this point you will want to preheat your oven and prepare your cake pan.  Butter it up, then cut a circle out of parchment to fit the bottom of the pan.  Now grease that too.  Take a few tablespoons of flour and, holding the pan in the sink, shake it around until the pan is covered with flour.  Dump any excess flour into the sink.


Take your butter and add it to the bowl of a stand mixer.  Beat it about a minute until it's nice and fluffy.  Then add the sugars and mix to combine.


At some point you will add the eggs.  I can't remember when.  Maybe now?


Yeah, that seems right.  Add the eggs and the wine-vanilla mixture.

Now take your flour-cinnamon-cocoa mixture and pour it into a sifter.  Gently sift it into the bowl of the stand mixer.


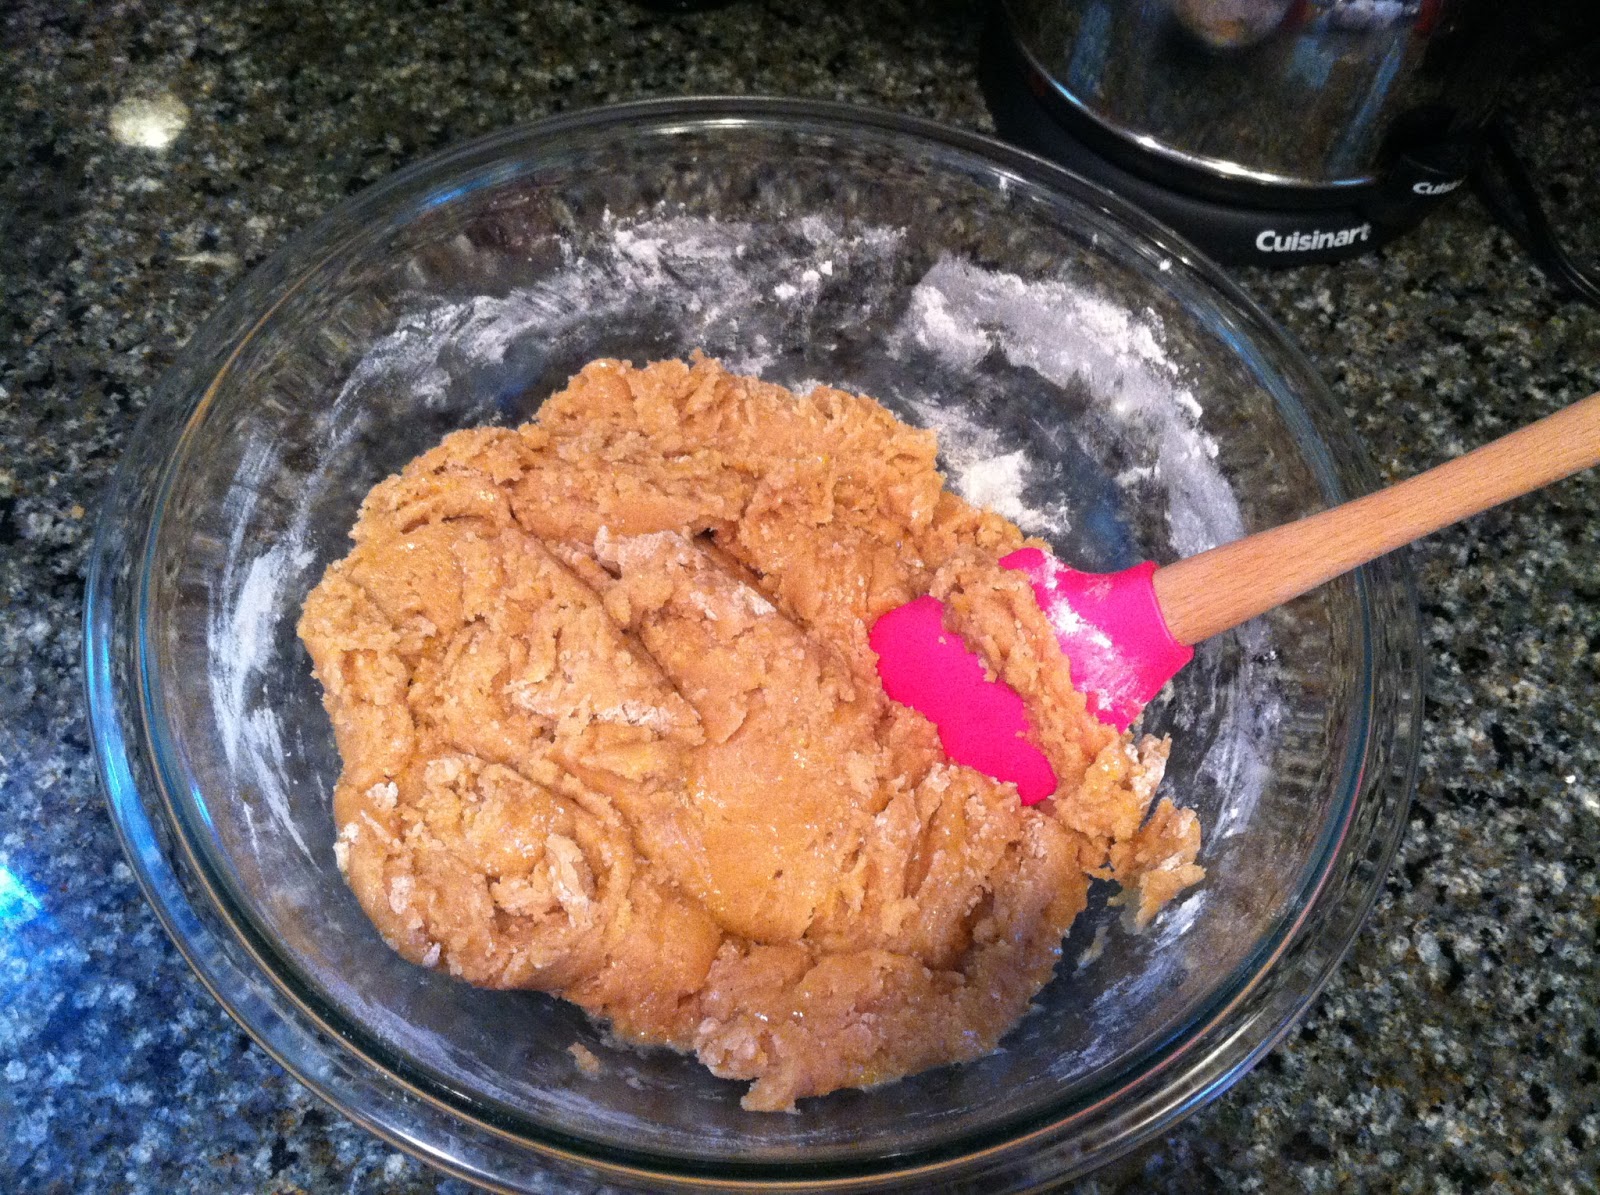
Stir every so often so the flour is incorporated.  Don't worry if it looks weird and clumpy.  That's what Deb said and I believed her. Follow her instructions and she won't lead you astray.  I promise.


Now take a spatula and scrape everything into your prepared cake pan and put in the oven.  It bakes for something like 55 minutes.


I forgot to take pictures of the final product as a whole cake, but here's another action shot:


It's a really, really delicious and very grown-up cake.  We ate it sprinkled with powdered sugar and it was perfect, but Deb has a recipe for a mascarpone whipped topping, which I can imagine just takes it over the top.

Another recipe from Smitten Kitchen that is a keeper!  And no, this is NOT a sponsored post!  I just think her recipes are awesome and am more than happy to shill for her for free :)


Saturday, June 15, 2013

Apple bread


As I've mentioned before, most of my bread-baking these days is for my church, since Mr. Bread Maiden has sworn off carbs, and Little Bread Toddler is too young for the type of crusty, sourdoughy breads I usually make.  So my church benefits from my itch to bake whenever I scratch it!

While the adult members appreciate my efforts, the gratitude goes to a whole other level with my sunday school class.  They just love when I bring baked goods, no matter what it is.  I try and tie it to the lesson of the day, even if the link is tenuous. 

This apple bread?  It was for a lesson on Adam and Eve.  Get it?

The recipe makes two loaves, which is good because five sunday school kids devoured the first loaf.

Apple Bread

recipe based on this one

You will need:


1 1/2 cups all purpose flour
1 teaspoon baking soda
1/2 teaspoon salt
2 teaspoons ground cinnamon
1/2 teaspoon ground allspice
1/4 teaspoon ground cloves
2 large eggs
1/4 cup canola oil
1/4 cup applesauce
1 teaspoon vanilla
1 cup granulated sugar
2 cups chopped apples, skin removed (we used gala and macintosh apples)


1. Preheat your oven to 350 degrees F. Spray an 8x4 loaf pan with cooking spray and set aside (I doubled the recipe).


2.  Now, mis en place your ingredients.  I don't think that's a verb in English.


3. In a medium bowl, whisk together flour, baking soda, salt, cinnamon, allspice, and cloves. Set aside.


 4. In a large bowl, add the eggs and beat on medium speed for about 30 seconds. Add in oil, applesauce, and vanilla and mix until smooth. Next, add the sugar and mix until well combined.


5. Slowly add in the flour mixture and mix until flour is barely combined.


6. Gently fold in the apple chunks.


7. Pour batter into prepared loaf pan(s).


8. Bake for 50-55 minutes, or until loaf is golden and a toothpick comes out clean.
 
9. Cool bread in pan for 10 minutes. Loosen sides and remove from pan. Cool completely on a wire rack before slicing.


Happy eating!

Thursday, March 21, 2013

Even easier than 1-2-3 bread


One of my earliest posts on this blog was 1-2-3 sourdough bread, which consisted of 1 part starter, 2 parts water, 3 parts flour (hence 1-2-3) and a pinch of salt.

^ I added flax seeds to this batch, which are the dark spots you see in the picture

It was easy to remember because you just had to add water in a ratio of 2/3 of the flour by weight.  I found 125g starter, 250g water, and 375g flour to make a decent-sized loaf.


The only problem?  This bread takes at least three days to make.  One to two days to revive the starter, and one to two days for the dough to rise.  I haven't had the patience for it lately.   

Recently a friend of mine was putting together a gift basket for another friend whose daughter is in the hospital.  She asked for bread and she needed it two days from then, so I knew I wouldn't have time to make a sourdough.

I made this bread instead.

It is super easy.  Even easier than my 1-2-3 loaf, because it doesn't require starter, and you can estimate two of the ingredients.

I think I'll call it "1-2 bread."


You will need:

375g All-Purpose Flour (I like King Arthur)
250g water
1 teaspoon-ish of salt
1 teaspoon-ish of instant or active dry yeast

1. Measure out the flour first and then add the water.


2. Measure out roughly one teaspoon of salt and add to the flour and water.  Use a teaspoon if you like, but you don't have to.  Most people think with baking you have to measure everything.  With bread, the only thing that is important is the hydration (i.e., the ratio of flour to water by weight).  Anything that significantly changes this ratio needs to be measured.  For everything else, you can wing it. 


3. Measure out roughly one teaspoon of yeast.  If you want to bake your bread in just a few hours and don't mind sacrificing flavor, by all means add two teaspoons of yeast instead of one.  Since I don't have that kind of time all in one big chunk, I like adding less yeast and letting the dough rise for a really long time- 24 hours.


4.  Mix everything up by hand.  It is really important that you use your hands because you can tell by touch whether it needs more water and that all the flour and water have been integrated into the dough.


5. Let the dough sit for 10-15 minutes.  This lets the dough relax and absorb a little more water.   You will see there is a huge difference in the texture between the first time you mix the dough, and after you have let it rest.

Pre-rest:


After 10 minutes, re-shaping the loaf:

^ see how smooth the dough is now?

6. Cover with cling wrap and place in the refrigerator overnight. 


7.  In the morning, remove the dough from the fridge (it will not have risen noticeably) and let the bowl sit on the counter during the day.  This is where you will see the big rise.

^ after 9 hours on the counter

 8.   That evening, punch down the dough, re-shape it, and transfer to a piece of parchment paper.  Cover with an oiled piece of cling wrap.


9.  Preheat the oven to 450 degrees F and insert your dutch oven or pizza stone to heat up while you wait about 45 minutes for your loaf to go through the second rise.

10.  Remove the cling wrap, score the loaf in a pretty pattern, and transfer the loaf and parchment paper to the dutch oven and close the lid. 


11.  Bake 25 minutes, then remove the lid.  Bake another 5-10 minutes, depending on how it looks and sounds.  Is the crust really hard already? Take it out; it's done.


12.  Let it cool and listen to the fun crackling sounds the crust makes as the air is escaping.  Fun!

^ this loaf will be great for sandwiches

Since the little girl's name begins with L, I thought it would be fun to personalize this loaf:


^ I made several loaves for this batch and experimented with different scoring patterns for each


I hope you enjoy trying out this easy, no-fuss recipe!