

I decided to break the baking science post into two posts so it's not information overload. In the first post, I touched on the following questions:
1. What is baking?
2. What does the yeast do when it's baked? What does baking powder/baking soda do?
3. What does the gluten do?
4. What does the water do?
In this post, I'll cover:
5. What is oven spring?
6. What temperature should I bake my bread at?
7. How can I get a hard/soft crust?
8. How will I know when my bread is done baking?
Ok, let's go!
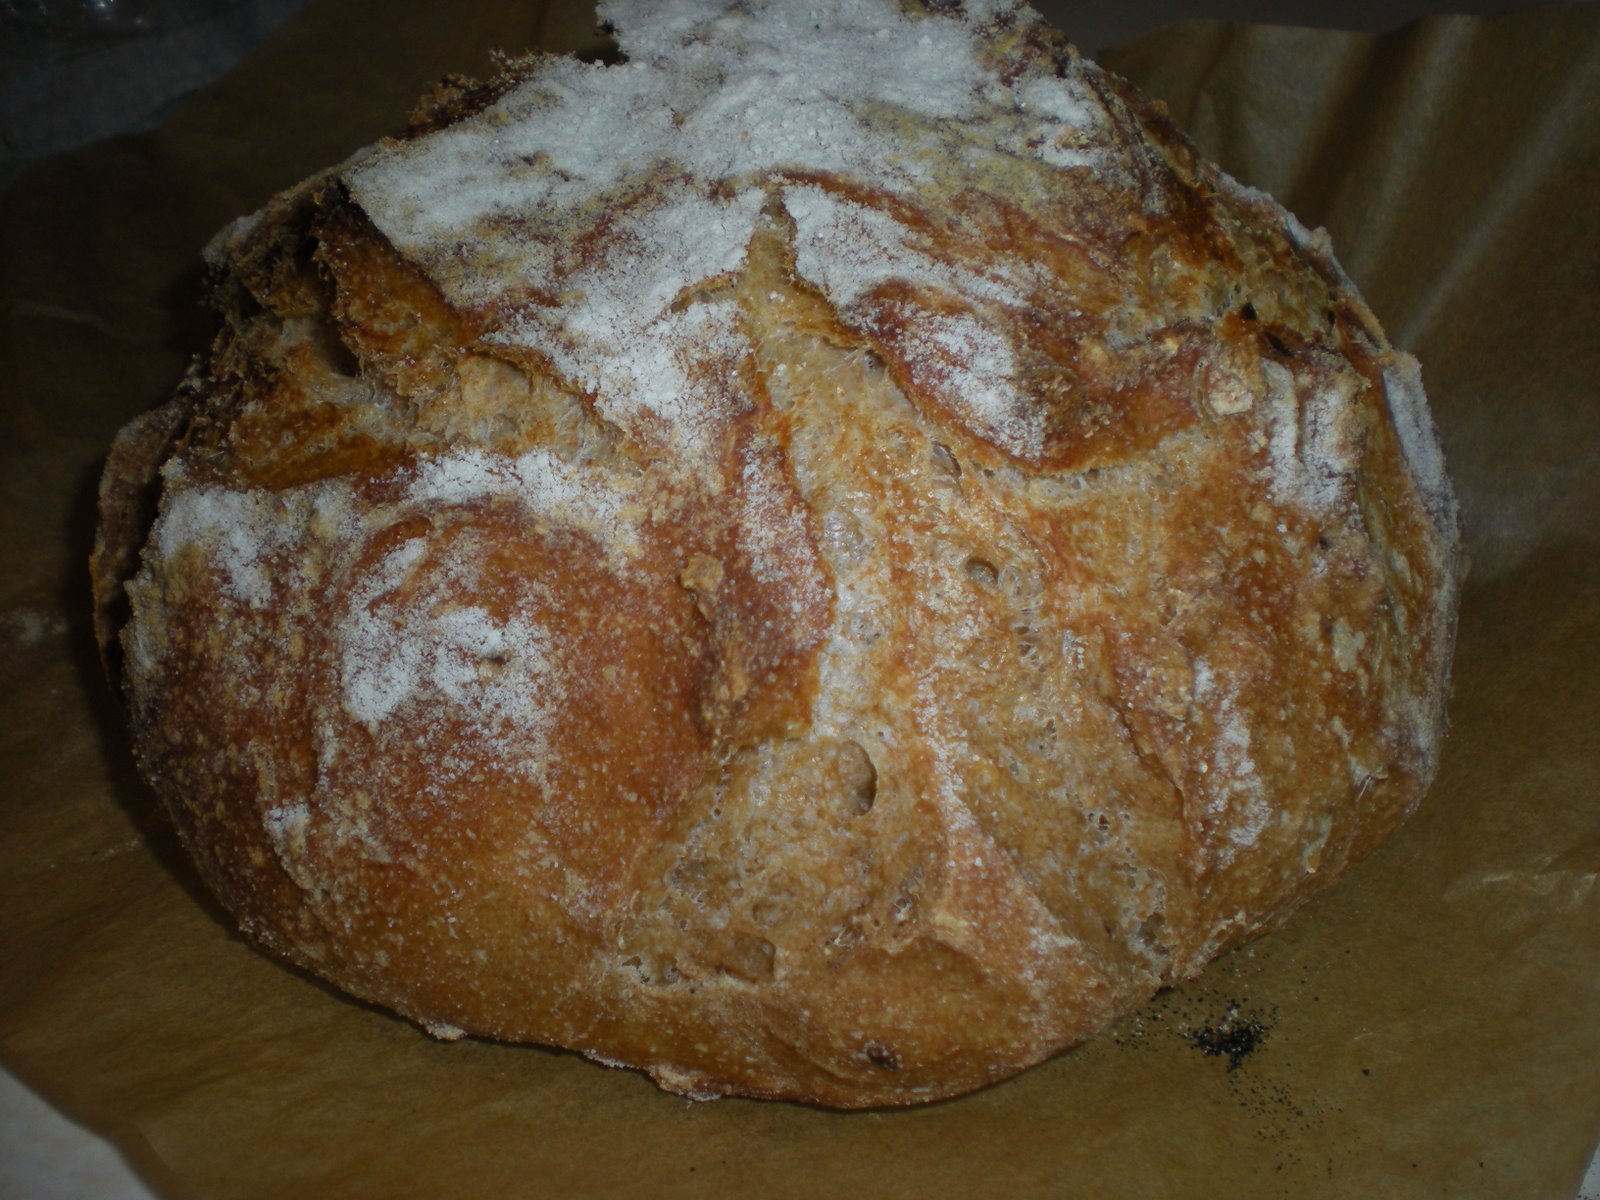
5. What is oven spring? It's the moment you've been waiting for - oven spring! This is probably the most exciting part of the whole baking shebang. The bread puffs up until the yeast are exhausted or the crust hardens, preventing it from puffing anymore.
Sometimes you want to control how the dough puffs up during oven spring. This is called scoring - creating a pleasing pattern in your baked loaf by cutting into the dough with a knife or razor blade, creating a pleasing pattern. Scoring creates weak points in the gluten net that will expand more than other areas.


If your dough is really high hydration and you can't score it, the bread will have uneven oven spring - which can give your bread a very rustic look.
Often if you don't get enough oven spring, it's the result of too low an oven temperature, or lack of good gluten formation. The temperature of your oven needs to be hot enough that the yeast go into a frenzy and release bubbles of carbon dioxide before the crust gets too hard. 375 degrees F is about the lowest you can go and still get oven spring. Too little oven spring could also mean that you didn't have enough gluten formation in your dough - the carbon dioxide was able to escape because your gluten net was faulty. This results in a dense loaf of bread.

Another symptom of poor gluten formation is if you get a big bubble right under the crust. This means your small carbon dioxide bubbles were able to amass and attempt to escape the dough - until the crust hardened and trapped the now very large carbon dioxide bubble.

When bread is baked, it is exposed to two kinds of heat: convection and conduction. The first, convection, is created by the oven. The oven heats up the air all around the dough. This type of heat causes the crust to harden. Conduction is heat transfer through whatever hot surface the dough is placed on. Exposure to a hot surface causes the heat to move into the interior of the dough, activating the yeast to produce lots of carbon dioxide.

Here's the problem bakers face: you need both convection and conduction to occur to get good oven spring (big holes!) and a crispy crust. HOWEVER: if your oven is really hot (needed for crispy crust), the crust will harden before the dough is done expanding. In order to get lots of oven spring, you want conduction to be the key player FIRST, then allow convection to give you a crispy crust. Bakers have lots of tricks for doing this. Most commercial kitchens have a steamer oven that injects moist steam into the oven to prevent the crust from hardening too early. Home bakers have improvised all kinds of ways to inject steam - pouring water into a baking sheet at the bottom of the oven, throwing ice cubes in there, using a sprayer bottle to spray the crust with water, etc.

My favorite method is the dutch oven method, shown here starting at 2:55.


Here's how it works.
When you preheat the oven, allow the dutch oven (covered) to warm up inside the oven.
Then, when the oven is ready, transfer your dough to the dutch oven and put the lid back on. Bake, covered, for 25-30 minutes.
Then remove the lid and continue cooking for another 15-20 minutes or until the bread is done (see #8). The dutch oven creates a smaller space for air to circulate, and it traps the water that leaves the dough during baking, creating its own steamer and keeping the outside of the dough moist while oven spring is occurring. Then, when you remove the lid, convection can occur, creating a crusty crust.
7. How can I get a soft crust/hard crust? There are a few ways to control the type of crust you get. Most importantly, the temperature of your oven is a big factor. A cooler oven will result in a softer crust. A hotter oven, a crustier crust. Most enriched doughs are baked around 375 degrees F, while baguettes and other crusty breads are baked between 450-550 degrees F.
Not all doughs will result in a crispy crust, though. You need lots of gluten formation, which means you want to remove all dough softeners like milk, eggs, butter, fat, and oil. You also want to remove anything that might burn in high heat, such as raisins or bacon.
If you are looking for that soft crust, you can also brush the top of the loaf with butter, water, egg wash or milk to keep it moist while the dough is baking.

Keep in mind when you are going after that soft crust that, due to the lower temperature of the oven, you won't get large holes in the crumb.
8. How do I know when my bread is done baking? There are three ways to tell your (yeast) bread is ready, with varying degrees of accuracy. I'll get to quick breads in a second.
- First, taking your bread's temperature. A bread that is done baking will register an internal temperature of 190-200 degrees F. This is the most accurate measure of whether a bread is done baking.

- Second, giving your bread a big ol' thump with your fingernail. If your bread sounds hollow, it's done baking. This also gives you a chance to feel the crust and see if it's nice and crusty. If your fingernail can push into the loaf, it's not done yet. Even a soft crust should feel hard at this point (it'll soften as it cools).
- Third, looking at the loaf to see if the outside is nice and golden brown. This is the least accurate of your three options, since a brown crust is not always an indicator that the inside of the loaf is cooked through. But it works when you are checking on the dough through the oven door.
If you are making a quick bread using baking powder or baking soda (such as biscuits, banana bread, muffins, or Irish soda bread), doing a fingernail thump is out of the question because the dough isn't as airy as a yeast dough and the crust doesn't get as hard and crusty. So you will have to rely on three different techniques to determine doneness.

- First, take its temperature. Again, bread that registers between 190 and 200 degrees F is done.
- Second, the toothpick test. This is probably the test for doneness that most people are familiar with. Using a wooden toothpick, stick it into the middle of the loaf (or as close as you can get), then draw it out. If the batter sticks to the toothpick, it's not done yet.
- Third, pressing down on the top of the loaf. This is different from the fingernail thump, since quick breads don't typically develop a hard crust or sound hollow. But they should feel solid to the touch, not mushy.
To read it, start from the lowest time and temperature (when you put your bread into the oven) and work your way up. Hopefully this clarifies how each step and ingredient work together to create bread.

That's it! The science behind baking. There's only one more post left ... the science behind cooling and staling. Stay tuned!
1 comment:
The science behind baking is fascinating, as it reveals the magic of how ingredients come together to create the perfect texture and flavor. Just like in baking, finding the Cheapest Vape Store in UK requires understanding the balance between quality and affordability, ensuring you get the best experience for your budget. Just as precise measurements and the right technique are key to successful baking, choosing the right vape products from a reliable store ensures that each vaping session is smooth and enjoyable, without breaking the bank. Both are about making informed choices that lead to a satisfying outcome.
Post a Comment