What might be easier and less overwhelming is dividing up the material into smaller thematic chunks. So this is the first step to baking: assembling the necessary equipment.
Just a note before I get started. Some cleverer bloggers have written posts like these and imbedded "affiliate links." There are no affiliate links in this post, or on this blog for that matter. I haven't received anything free in exchange for reviewing or pushing it on the blog. The products here are actually what I use and love, and I won't receive any sort of monetary reward if you buy the equipment I have written about here.
1. Kitchen scale
My baking got much more accurate, consistent, and cleaner once I bought a kitchen scale. Once I started measuring in weight, I could tell the hydration of my dough and correct mistakes like adding too much flour. I could account for weather and humidity changes in the air that caused the dough to absorb more or less flour. I could make my rolls all the same size so they would cook evenly. And most importantly, I used many fewer dishes and tools, because I could measure everything in the same bowl using the "tare" or "zero out" feature, which meant fewer dishes to wash. Any baker will tell you that if you want to vastly improve your bread game, you need to get a kitchen scale.
2. Bench scraper
I like this scraper because it easily and cleanly divides the dough into smaller pieces, and I use it after I have kneaded on the counter top to scrape up all the little dough bits that are stuck to the counter. This is similar to the bench scraper I have. It's all metal instead of a handle that is wood or plastic so it's easy to clean.
3. Glass bowls of different sizes. I have pyrex which works well. You don't want them to be too heavy.
Often you will want to prepare your ingredients ahead of time, or you need to melt or warm something in the microwave. Using the right size bowl can save you time, and everything you need will be prepped and ready to go. I used to use metal bowls, but I feel like glass bowls are better for most things, and they hold onto their heat when a dough is rising.
4. A tablespoon and a teaspoon
I feel like these two are all you really need. Everything else, such as 1/4 tsp or 1/2 tbs you can probably eyeball. The reason I use a teaspoon and tablespoon is that some dry ingredients just don't weigh enough to be measured accurately by weight. Examples are baking soda and baking powder, or a teaspoon of yeast. Most scales don't measure in smaller fractions than a gram, and so volume measures are the way to go. My tablespoon and teaspoon have the labels worn off, but I still know what they are because the reason the labels are worn off is because I use them so often.
Edited to add: Here's the proof!
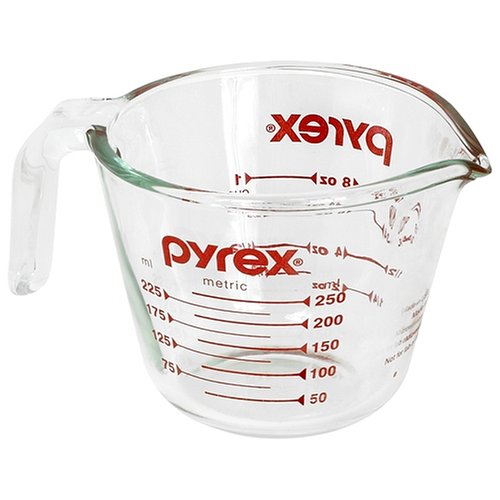
5. Glass measuring cups
Since you can measure most dry ingredients into the larger dough, usually there is no need for measuring cups. However, as with the bowls I detailed above, you might want to heat things in the microwave, and glass measuring cups are good for that. Get one that is 1-cup and one that is a 2-cup measure. Make sure it has all the measurements on it.
6. Small, sharp knife
A small knife is good for scoring (cutting the top of) your loaf so it can expand in the oven while it's baking. It's better if it's sharper, and you don't need anything bigger than a paring knife. I've used razor blades in the past which are the best, but if you have kids and don't want to leave razor blades sitting around in your kitchen, a small knife is your best bet.
At this point, your needs will dictate whether you want to purchase any of the following tools. Think about the type of bread you will be making. Do you want to make crusty, round loaves or sandwich bread? If you want crusty, check out #7 and 8. If sandwiches are your thing, check out #9 and #10.
7. Cast-iron dutch oven that can withstand temperatures up to 500 degrees F.
If you want crusty bread full of holes, you need a vessel that can withstand high heat while locking in humidity so the crust doesn't burn before the crumb is finished exploding out. A dutch oven will be your bread savior.
8. Parchment paper
After a crusty loaf rises the first time, it is transferred out of the glass bowl and shaped into its final shape. Parchment paper is a great surface for the second rise, because you can pick your loaf up by the corners of the parchment and transfer it to the oven without it deflating. Also, it's non-stick, so it beats covering baking sheets with butter or flour.
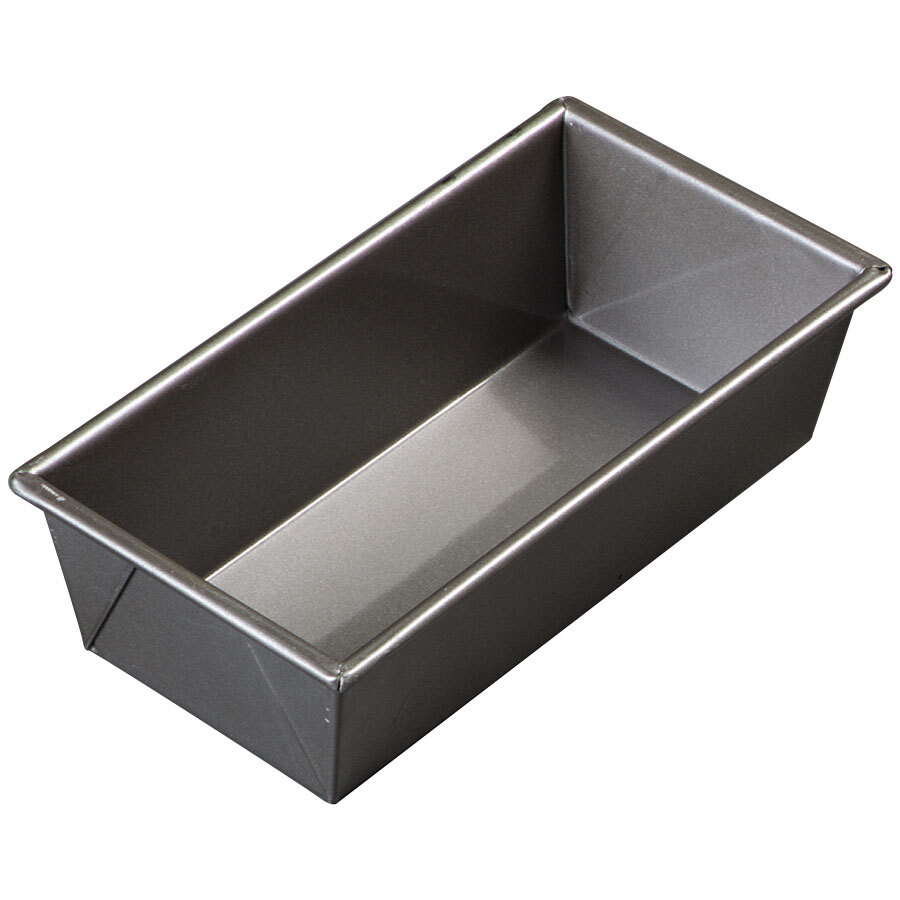
9. Heavy aluminum bread pans
I like the dark non-stick pans. That's all I have to say about that. Even though it says non-stick, I would still coat it in butter before baking bread in it. I would get two or even four in the same size so you can bake multiple loaves at once.
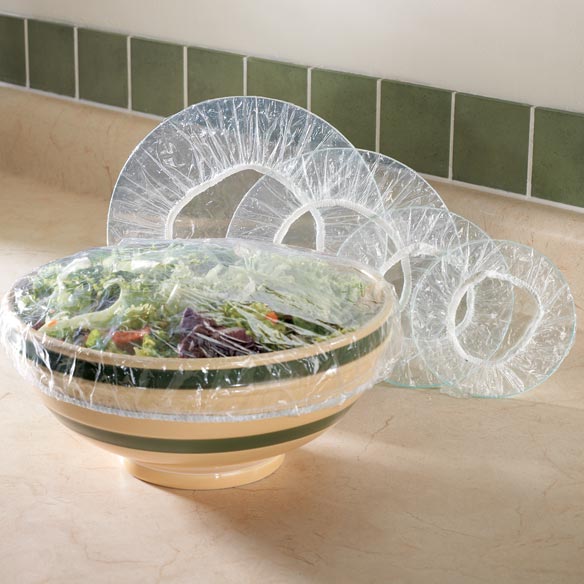
These bowl covers are one of my new favorite things and they've quickly become an essential. See, while the dough is rising, I cover the bowl (and then the loaf) with plastic wrap, which I then throw away. I knew it was wasteful, but I didn't know that there was a better way. These elastic bowl covers are reusable, so they fit over a bowl and then again over the tops of bread pans for the second rise. For this reason, they work best with sandwich loaves. I love that I can use them again and again instead of throwing away tons of plastic.
There you have it. My baking essentials. There are lots of other things that I use daily, such as my stand mixer, that are nice to have, but aren't necessarily essential. Your mileage may vary. I hope this helps anyone who is thinking about trying to bake and wants tasty, consistent results.
.jpg)


3 comments:
them bowl covers double nicely as shower caps in a pinch
Nice blog! content is well-written, and informative. Your passion shines through your writing.Arise Equipments serves as one of the prominent bread slicer distributors in Delhi. With their extensive network and strong distribution channels, they provide a wide range of top-quality bread slicing machines to various businesses.
Post a Comment