Tuesday, December 3, 2013

Using up Thanksgiving leftovers: cornbread stuffing mini muffins


I don't know if this is going to become a series, but with most people this week staring down a fridge full of leftovers, it seemed the thing to do.

These aren't really muffins.  Sorry if the title is misleading.

Technically they are mini frittatas, since they are mostly bound by eggs.  They are delicious though, which is the important thing.

I made them because I had a ton of crumbly cornbread stuffing made by my brother that wasn't going to eat itself.


This recipe is loosely based on one by Heather at Kitchen Concoctions.  I made them mini instead of regular-sized, used cornbread stuffing instead of regular stuffing, and skipped the spinach since I didn't have any on hand.

My motivation for making these as mini muffins (mini frittatas, sorry) was two-fold.  First, I wanted to use my new mini muffin pan which was an impulse buy at Harris Teeter last week.  Second, I am always on the lookout for breakfast foods Little Bread Toddler might like.


You will need:

6 eggs
about a cup of stuffing, any kind will do
1/3 cup milk or cream
1 cup shredded cheese
pinch of salt
pinch of pepper
Butter or cooking spray

1. Preheat your oven to 400 degrees F.
2. Grease up your muffin pan using the butter or cooking spray.


3. Mix together your eggs and cream/milk. Add the salt and pepper.


4. Pour over the stuffing and mix to combine.


5. Now add the cheese.


6. Pour the batter into the muffin pan until each cup is about 3/4 full.


I had too much batter so I had to make a few regular-sized frittatas too.


7. Bake in the oven for about 10 minutes for mini muffins or 12-15 minutes for regular sized, until the muffins start to pull away from the edges of the pan.


And there you have it.


I like them drizzled with tabasco sauce. It just seemed fitting with the eggs and cornbread.


Look how little they are!


Little Bread Toddler liked them with ketchup.  I think these mini frittatas were a hit!  We don't have very many left but I'll definitely be making them again.  I think they would be good as appetizers too.  I hope this post has inspired you to think of new ways to use your leftovers.


Sunday, December 1, 2013

Bread for communion by intinction part III: making the bread bowl


Now that I have detailed the process for making my "look pretty" and "be tasty" loaves, I will post here about how to make the workhorse of the whole intinction set-up: the bread bowl.

Again, if you have no idea what I'm talking about, click here to learn about the project and what communion by intinction looks like at my church.

If you just want a recipe for decent challah, click here.

If you want to learn how to incorporate fats while developing your own bread recipe, click here.

Ok, now that that's over, I will tell you why you need this bread bowl.  It will become your favorite vehicle for dips and soups.  Not to mention tiny pieces of bread, if you find yourself ever needing to prepare bread for communion by intinction.

What is great about this recipe is that it uses a combination of bread flour and AP flour, and doesn't have any fat.  These two factors make the gluten development really strong so it can hold more and won't fall apart while the inside crumb is being hollowed out.

You will need:

375g of bread flour
375g of AP flour
500g of water
14g of salt
14g of yeast

That's it!

Put the ingredients in a large bowl and mix with your hands until it forms a rough dough.


Let the dough sit for about fifteen minutes, then knead a little.  It should be much smoother.  Shape it into a ball, cover the bowl with plastic wrap and let sit until doubled in size.


After it has risen once, punch it down and transfer it to a piece of parchment paper and cover it with plastic wrap.  Throw your dutch oven into the oven and preheat it to 450 degrees F.


When the oven is preheated, take the plastic wrap off and put your dough (and parchment) into the dutch oven with the lid on.  Bake for 25 minutes with the lid on, then remove the lid and cook another 15 minutes until the dough is golden and hard when you tap it with your fingernail.


Let the loaf cool completely, then use a sharp knife to cut a circle around the top and remove it.  Use your hands to pull out the rest, working around the sides and the bottom to make it even.  Once you hollow it out, it will look like this:


If you accidentally cut through the bottom or sides of the bread bowl, don't worry.  You can hide a small bowl inside and no one will know!


Here it is all filled up with bread.  I had to measure it to make sure it held about 80 pieces of bread, about this size:


My brother and Little Bread Toddler ate all the hollowed-out bread.  So no saved bread crumbs for me.  That's ok though, I still have a lot left over from the last bread bowl :)


Saturday, November 30, 2013

Bread for communion by intinction part II, now with more bread math!


Here is the post where I tell you how I came up with the recipe for my "look pretty" loaf for my church's communion by intinction tomorrow!

If you have no idea what I'm talking about, click here.

In the last post, I gave you the recipe for the challah, which I cut up and used to fill the bread bowl.  The challah is the part that people will actually eat.  It's the "be tasty" loaf.


The "look pretty" loaf is the one that sits on the table in the front of the sanctuary, and which the pastor holds up and tears in half while telling the story of the Last Supper.  Its entire job is to look nice and be tear-able.

How do you make a loaf that tears easily?  Well, you need to add some sort of fat to enrich it.  I'm no food scientist, but I know that fat tenderizes the dough, making it easier to tear.  Fats can include milk, butter, oil, or eggs.

However, you can't just throw these into a dough and call it a day.  They contribute to the overall hydration of the dough in indirect ways that need to be compensated for.

This is a job for.... bread math!


I decided I was going to add milk and an egg to soften my usual simplified 1-2-3 dough.  Here is how I did it:

My 1-2-3 loaf uses 375g of flour and 250g of water.  So the milk and egg would need to be a part of the 250g of water.

First, I figured out that milk is considered 82% hydration and an egg is 75% hydration.  That means they are 82% and 75% water respectively, and the rest is fat (or protein).

So in order to keep my 60% hydration level, I would have to measure the milk and egg by weight and calculate 82% of the milk and 75% of the egg and add them together along with some more water to equal 250g.

Here is my equation (if you can't see in the above photo):

(milk * .82) + (egg * .75) + (water) = 250g

The egg was 57g, so 75% of the egg's weight would be 42.75g.

I measured out some milk and it was 125g, so 82% was about 100g.

Now the equation looked like this:

(100) + (43) + (water) = 250g

So I needed 106g of water to reach 250g!

Along with the 375g of flour and 250g of water (and egg and milk) you should add about 7g of salt and 7g of yeast.  Salt and yeast don't change the hydration; only flour and water do.


All mixed up, it looked like this:


I covered it with plastic wrap and gave it a few stretch and folds once an hour or so, making sure the gluten was developing correctly.  It took about five hours to fully rise.  Here it is looking all smooth once the dough had time to rest and then the gluten strands started to form.


After the first rise, transfer to a piece of parchment paper and let rise another hour while you preheat the oven to 375 degrees F.  I've found that enriched breads do better at lower temperatures than in the screaming hot temperatures that lean doughs seem to love.  Oh, and throw your dutch oven into the oven as well.


The dough was really sticky still so I covered it with flour.

When the dough is ready, score the top with a sharp knife and put it in the dutch oven with the lid on.  Bake for 25 minutes, then remove the lid and bake another 15 minutes until the bread is golden and sounds hollow when tapped.


Yay!  Pretty bread is pretty!


When your bread has cooled down, wrap it in plastic wrap and place it in your bag along with the bread bowl and your cut up challah pieces to bring over to the church.

Stay tuned for the third and final segment in this series on making bread for communion by intinction: making the bread bowl!


Thanksgiving and preparing bread for communion by intinction


As most of my readers know, this week we celebrated Thanksgiving.  With my parents living far away, our Thanksgiving crew included my siblings, in-laws, an aunt and her family who live in Baltimore, and some friends who have become family.  We cooked up a storm and ate tons of delicious food.  Then on Friday Little Bread Toddler allowed us to sleep in and we had a lazy day: running simple errands, window shopping for houses, and going to the playground.  Oh, and preparing communion bread for the first Sunday of December.

Those of you who don't know the history of why I make bread for my church, click here.

This week is special because we are observing communion by intinction.  Catholics are familiar with the practice- it's the dipping of the bread into the wine during communion.  As Baptists we don't do it very often- usually the bread is passed around and eaten, then the wine (grape juice) is passed around and consumed.  But sometimes we do intinction when we are feeling particularly like communing with each other.

I've prepared the bread for intinction a couple of times now.  When my pastor first asked me to make it, I thought it would be no big deal.  I just made two loaves like I always do, and people could tear off a piece of the loaf and dip it.

Then the complaints started.

People did not like having to touch and eat bread that had been touched by other people, even though those other people were congregants and had been worshiping side by side with them for years.

Even though the whole point of intinction was a sense of community.

The irony was strong with this one.

But the people had spoken.  So the pastor and I cooked up a solution: I would hollow out a loaf of bread in the style of a bread bowl, cut the inside (the "crumb" in baker speak) into small chunks and put it back in the bread bowl so people could pluck a piece out instead of having to tear it.


Unfortunately, that plan didn't work out so well.  The pieces I was able to hollow out were misshapen and didn't result in enough pieces.  I ended up making three loaves: one to look pretty, one to be tasty, and one for the bread bowl.

Now that I've made bread for intinction a few times, I have it down to a science.  But it took a few tries to get it right.

I started out by making my "look pretty" and "bread bowl" loaves using my simplified 1-2-3 recipe and the "be pretty" loaf using Ina Garten's Honey White Bread recipe.  But I've since stopped using the 1-2-3 recipe for communion bread.

The thing is, the 1-2-3 bread is crusty due to its lack of fat, and the first time I saw the pastor manhandling my "look pretty" loaf to get it to tear in half, I was mortified.  It requires a softer, more tear-able dough, which I will detail in a subsequent post.  I still use 1-2-3 for the bread bowl, but I've learned to double the recipe to hold all the pieces.  I freeze the hollowed-out part for bread crumbs.


For the "be tasty" loaf, I switch back and forth between Ina Garten's Honey White and the Joy of Cooking's challah.  I find challah holds up better during intinction because the gluten really gets a chance to develop so it doesn't fall apart in the cup when it gets soaked with wine.  So that's what I've learned in a year of making communion bread.

Here's a picture of all the loaves rising on the counter.


And here's one with the towels taken off.


Bread Maiden's Challah (adapted from The Joy of Cooking, 1997)

You will need:
2 teaspoons yeast
1/2 cup warm water
1/2 cup AP flour
3 tablespoons vegetable oil
3 tablespoons sugar
2 eggs
2 egg yolks
1 1/4 teaspoon salt
2 1/2 cups bread flour

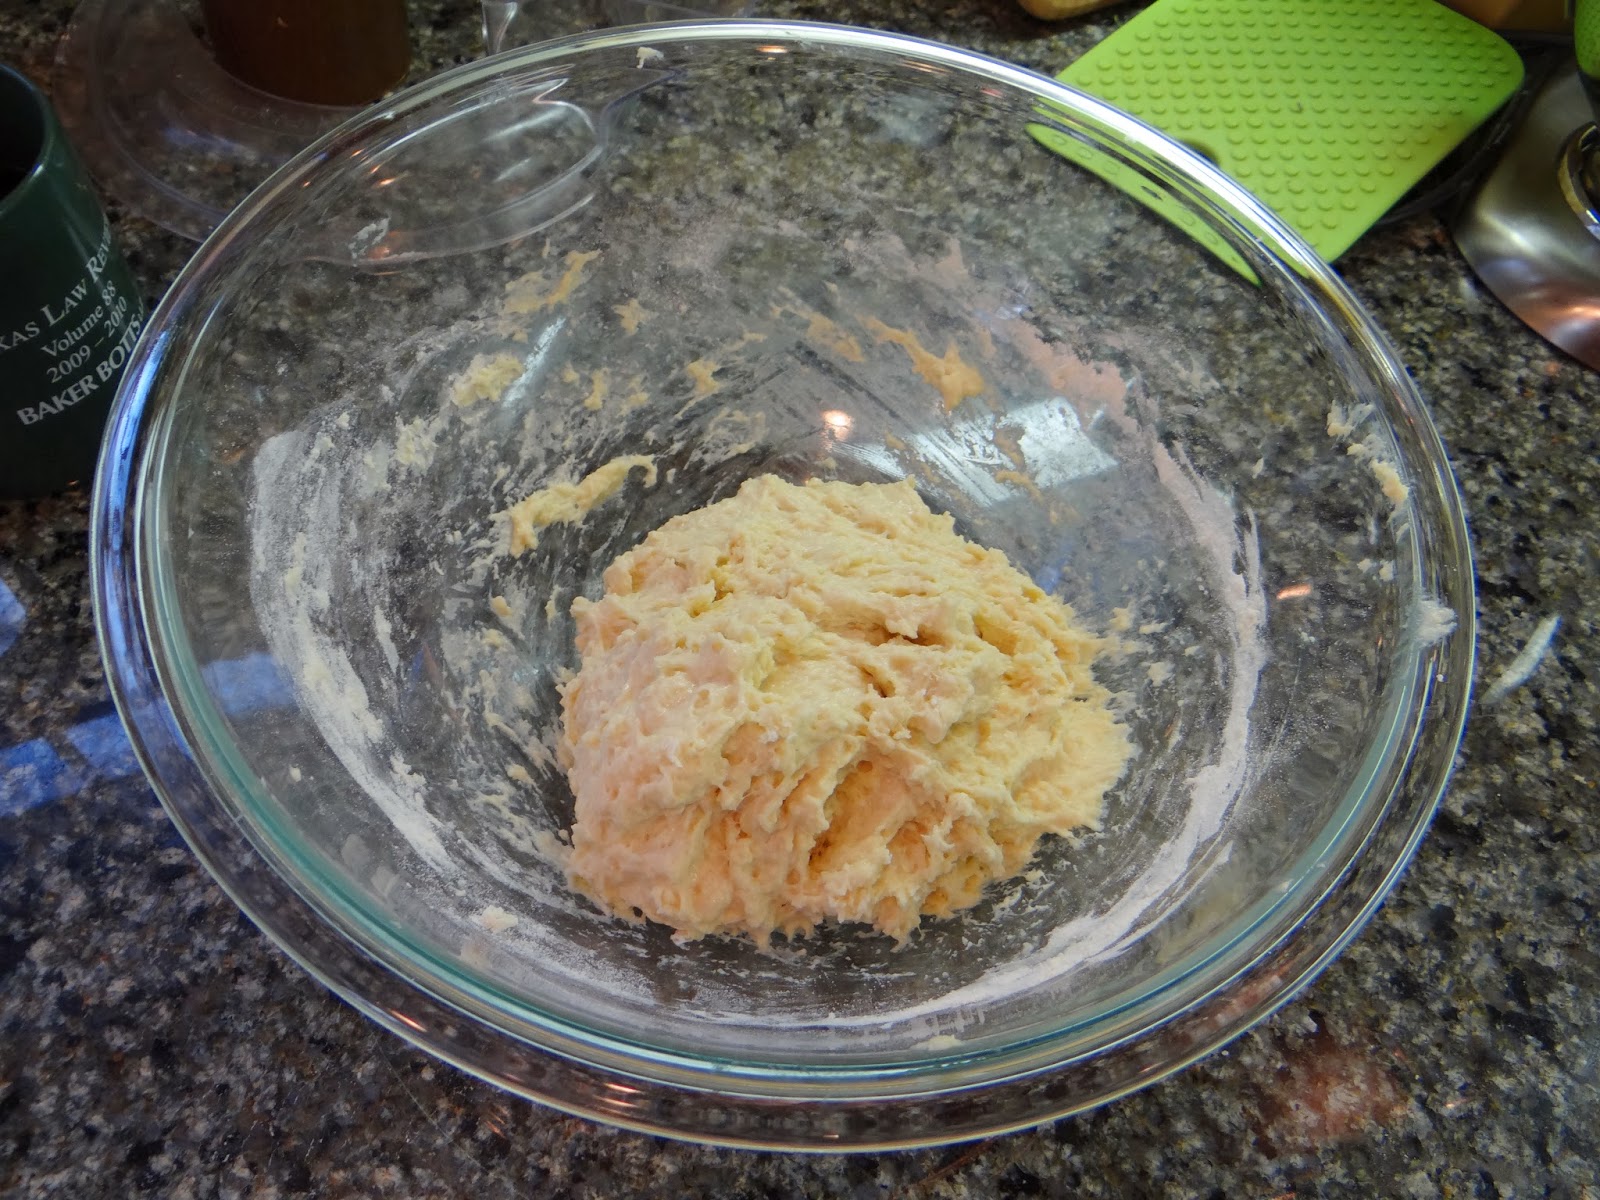
1. Mix together the yeast and water in the bowl of a stand mixer with a paddle attachment.  Let it get bubbly, about five minutes.

2. Add the AP flour, vegetable oil, sugar, eggs, egg yolks and salt and mix until combined.

3. Add the bread flour a little at a time.  When it's all in, switch to the bread hook and knead for another 8-10 minutes until it's soft but not sticky.

4. Oil a bowl and move the dough to the bowl, flipping the dough to coat it all over with oil.  Cover and let rest for a few hours.


5. Grease a bread pan with butter.  Punch down the challah down, roll up into a long roll and cinch the end.  Transfer to the bread pan, cover and let rest another hour.

6. Preheat the oven to 375. Because you are going to be cutting up the loaf into little pieces, feel free to skip an egg wash.  Bake  until golden and delicious, about half an hour.  Once it's cool, cut into tiny pieces (if you are preparing to use for communion.  If not, slice and eat!)


I was able to slice about 160 or so pieces from one loaf.  Your mileage may vary.  Cut down to size, this bread is chewy but still sweet.  It will be perfect for communion tomorrow.  Please stay tuned for my next posts about the recipe I made up for my "be pretty" communion loaf and the 1-2-3 double size bread bowl loaf!


Monday, October 21, 2013

Puffy Pancakes


Puffy pancakes, also known as dutch babies, German pancakes or pfannkuchen, have become my weekend breakfast of choice.

I love real pancakes, but they take for-frickin-EVER on the griddle!  You are stuck in the kitchen pouring batter and flipping pancakes. It's a nearly hour-long, super-involved process.  And that's not even doing anything remotely fancy.  And then, you have to clean the griddle.  No thanks.

Puffy pancakes, in contrast, are a dream.  You mix up the ingredients and throw that bad boy in the oven to cook, uninterrupted, for 15 minutes while you casually brew up some coffee.

The other awesome thing is that this recipe is so easy, you can memorize it and make it forever and ever.

I got this recipe from Love, Taza here.  She uses two eggs but since I'm the only one at my house who ever eats these, I use one egg.  It seems a shame to waste an egg, since I can't finish one of these by myself. Another reason to only use one egg if you're cooking for one is that puffy pancakes are made to be eaten right away.  They become tough and rubbery if you try to store them.

You will need (for one pancake, serves 2):


1/2 cup of milk

1/2 cup of AP flour

1 egg, gently stirred

Pinch of salt

Butter

The above five ingredients are essential.  The next few are strictly optional:

Pinch of sugar

Pinch of other spice- I like cinnamon or nutmeg

Splash of vanilla

All mis-en-placed:


1. Place a glass pie pan in the cold oven with a dollop of butter.  Preheat your oven to 425 degrees F.


2. Mix the flour, salt, sugar and cinnamon together in  large bowl.


3. Mix the milk, egg and vanilla in a medium bowl.  Or, measure the milk in a slightly larger measuring cup than you need, and add the egg and vanilla into that.  One less bowl to wash!


4. Once the oven is preheated, pull the pie pan out and gently swirl the butter around to coat the bottom of the pan.

5.  Now pour the milk and egg mixture into the flour mixture and whisk to combine.  Using a spatula, scrape the batter into the pie pan and bake for 15 minutes.

Now here is the exciting part.  Were you asking yourself, "but why is it called a PUFFY pancake?"

Check it out.  Once in the oven, your batter goes from looking like this:
To puffing up like this!

And then comes out of the oven looking like this!


Unfortunately, after that dramatic presentation puffy pancakes quickly deflate :(


So, mine could be prettier.  But popping this bad boy in the oven is way easier then babysitting a bunch of pancakes on a hot griddle!

I like to serve my puffy pancake with lots of syrup.  Other acceptable toppings include powdered sugar, jam or dulce de leche.

Bread (not so little anymore) Brother approves of his first puffy pancake.


Here is my staging of the final product:


Yeah right, like I have time to read the paper.  I guess a girl can dream.