Monday, November 7, 2011

Puff Pastry II


Now that we've made our puff pastry (if you haven't, check out my recipe here).

We have lots of options.

This is a lot of puff pastry.


Since we have a ton of beef in the freezer that we need to get rid of, we decided to make Beef Wellington.


Our recipe is from one of our favorite cookbooks, MEAT by James Peterson. This is one of those recipes that you might want a partner to help you with, just so you can get dinner on the table before 10pm. Most of the parts can be done simultaneously, like making the duxelles, rolling the dough, and seasoning the meat.

What you need:
A defrosted puff pastry, about the pliability of pie dough.
1.5 lbs of cremini mushrooms
About 5 tablespoons of butter
A shallot or two
A beef tenderloin
Salt
Pepper
One egg (for an egg wash)
Flour (for dusting)

TENDERLOIN
1. Take the beef tenderloin and rub in some salt and pepper. Set aside. Preheat the oven to 425 degrees F.


DUXELLES
2. Put the mushrooms in a food processor and pulse until they are all minced up. Or mince them with a knife. Your choice.
3. Heat up a frying pan to medium heat. Melt about two tablespoons in the pan, then add a handful of the mushroom mash. Keep stirring it around. The mushrooms will absorb the butter, then start to release it. When they start releasing liquid, add another handful of mushroom mash and some butter. Repeat until all the mushrooms are cooked.
4. Once they are cooked, put them into a bowl and put in the refrigerator to cool down.


DOUGH
5. Either dust your countertop liberally with flour, or lay down some wax paper and dust THAT with flour. Take your puff pastry, lay it on the counter or wax paper, and dust the top with flour. If you are using wax paper, now lay another sheet on top of the dough.
6. Start to slowly roll out the dough with a rolling pin. The wax paper is nice for this, but you do have to keep adding flour to keep it from sticking.
7. You want it REALLY thin. Like, 1/4 inch thick.

ASSEMBLING THE BEEF WELLINGTON
8. Take your cooled duxelle mixture and spread it onto the dough.


As you can see, the dough rolled out is about the size of two cookie sheets.


Spread out the duxelles using a spatula.


9. Now take your seasoned tenderloin and lay it on the edge of the duxelle mixture.


10. Carefully fold the dough over the tenderloin.


11. Cut off the overlapping sides of the dough to make a nice little package.
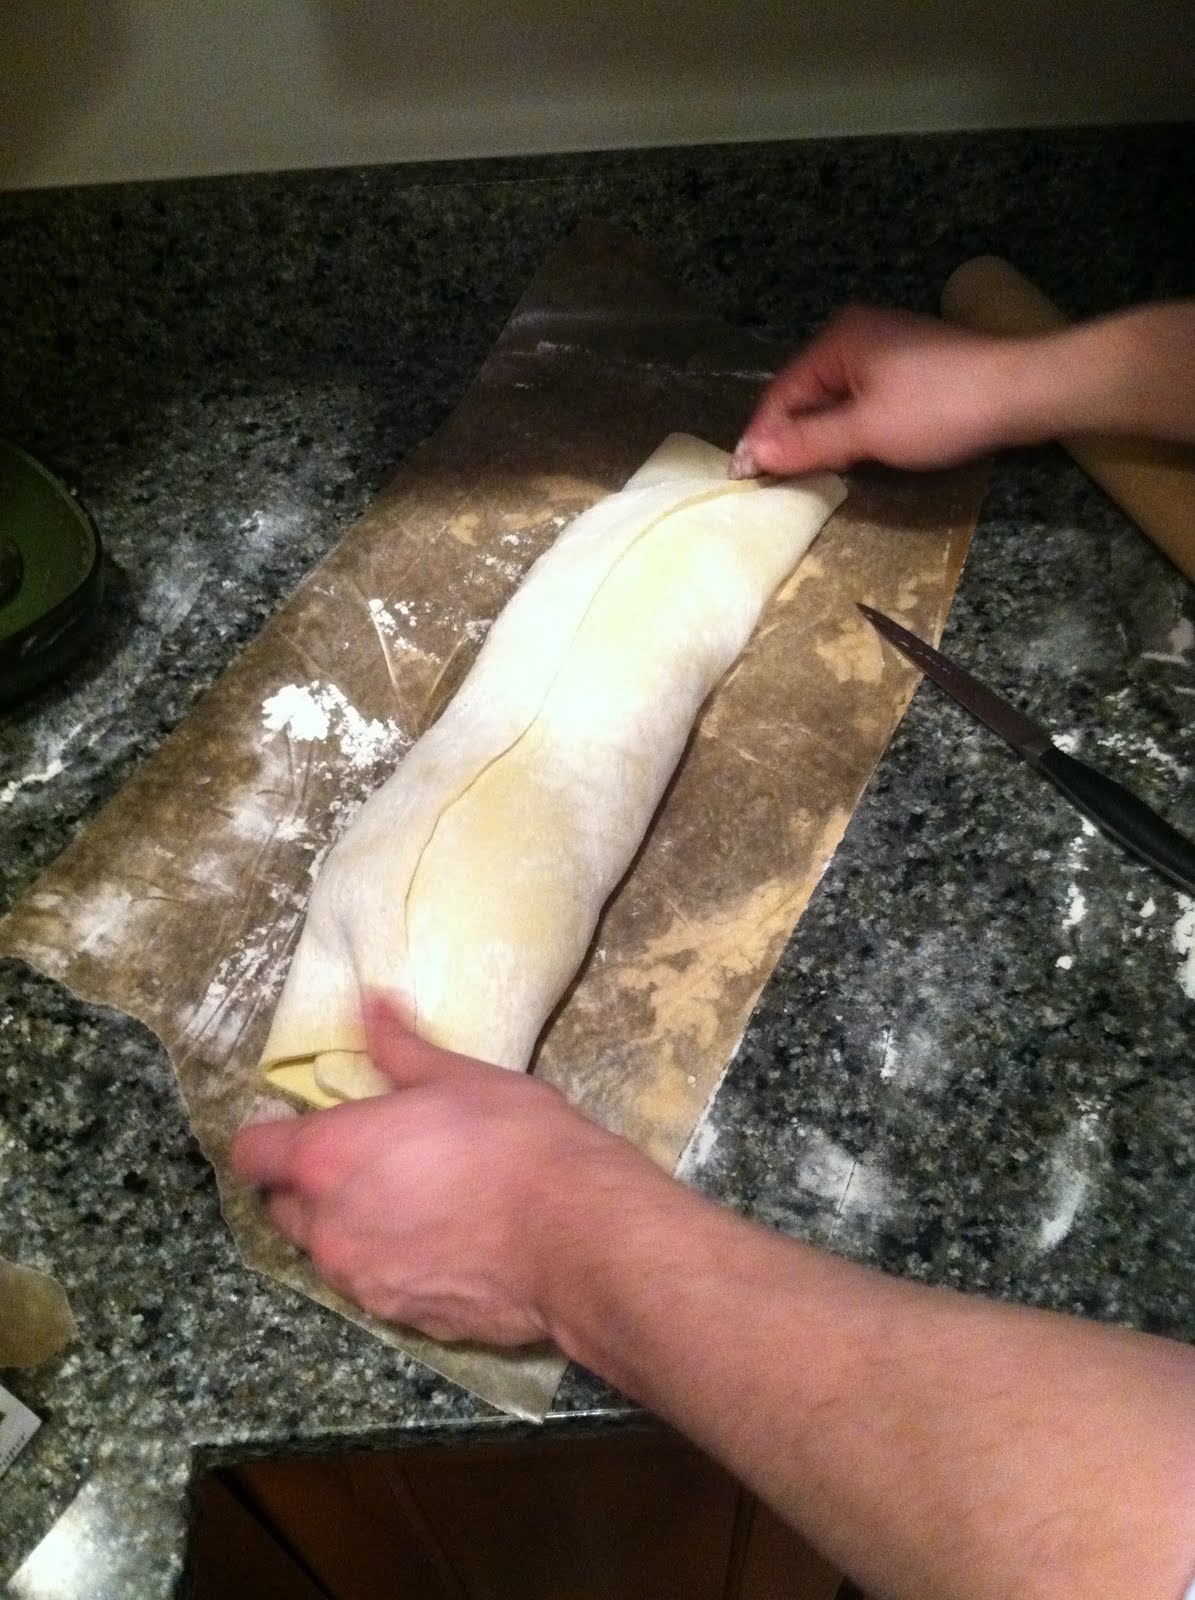

Don't worry, little scraps of puff pastry. I have something special planned for you.


12. Mix up the egg wash and spread it over the dough. Slash the dough and put in the oven.


13. When you take the pan out of the oven in about 40 minutes (internal temp. between 120-125), it should look something like this:


Mr. Bread Maiden was upset it was a little more done than he would've liked, but it was truly delicious.


While you are letting your Beef Wellington rest, let's get back to those dough scraps. You haven't just thrown them away, have you?

Because here is what you do with the scraps.

Wait for it.

Mini croissants.

Roll out the scraps and form into small triangles. Roll up the triangles and carefully place on a baking sheet lined with parchment. Pop the sheet into the refrigerator to rest the dough a little bit. For this part you can crowd the croissants a little bit, but make sure to spread them into two or three baking sheets before baking them to giving them room to rise in the oven.


Preheat the oven to 425. Slide in the croissants, then bump the temperature down to 375. Bake until brown and flaky, about 15-20 minutes.

Here are the croissants. I forgot to take pictures of them when they came out of the oven, but here they are a few days later and still looking fabulous.


These are best warm from the oven with jam. You want some sort of sweetener, since puff pastry dough doesn't have much sugar or salt in it.


I don't know the next time I'll make puff pastry. It isn't difficult but it does take some time. That said, homemade trumps ANYTHING you can buy in the store. But you knew that already ;)


Tuesday, November 1, 2011

Puff Pastry


I don't watch a ton of Food Network anymore. It's not that the shows aren't entertaining; they are.


But I feel like I've outgrown it.


Back when Mr. Bread Maiden and I were dating, I didn't know how to cook. And I certainly didn't bake.

He introduced me to Alton Brown, nerdy food-scientist. And from there, a food journey began.


But I'm so bored by the offerings now, and often disappointed at the results. Not to brag, but Mr. Bread Maiden and I often cook and bake food that looks better than what these celebrity chefs make. And I'm left wishing that they would, just a little, EXPAND my kitchen knowledge.

Like they did before.

There are still tons of things I've never made before.

Like, most world cuisine. I dunno, casseroles. Profiteroles. Sole. Mole. Lots of things!

One of those things is puff pastry.

Food network appears to not want to touch the stuff with a 10-foot pole.

This is my search for puff pastry on food network.


Hey, Ina Garten has a recipe for puff pastry; that looks promising.


But the recipe calls for frozen puff pastry.

A recipe for real, homemade puff pastry isn't until page 2.

Friends, this is a shame.

Because, as Mr. Bread Maiden and I learned on Sunday, homemade puff pastry is DAMN TASTY.

I used this recipe, from White on Rice Couple.

You will need:

Butter Block Ingredients
1 lb + 3 1/2 T (510g) cold unsalted Butter
2 t (10ml) Lemon Juice
pinch of Salt
1 c (130g) Bread Flour

Dough Ingredients
3 c (400g) Bread Flour, approximately
3 1/2 T (55g) soft unsalted Butter
2 t Salt
1 c (240ml) cold Water

Make Butter Block

1. In mixer w/ paddle attachment, work butter lemon juice, salt, and flour into a smooth paste.

2. On a sheet of wax paper, roughly form an approx. 6″ square with the butter block mixture. Lay another piece of wax paper on top and smooth out the square & straighten the sides. Peel back each wax paper sheet & re-lay as it wrinkles to keep a smooth, even surface. After block’s thickness & sides are even, refrigerate until firm.


Make the dough


1. Sift flour onto your work surface. Cut the butter into the flour until it looks like course crumbs.


2. Now it’s kind of like making fresh pasta. Shape into a mound, then make a well in the center of the mound. Add the salt & cold water into the well, then with a fork, use a whisking motion to gradually incorporate the well’s sides into the water.


When it starts to form a solid mass, finish incorporating the flour by kneading. Incorporate just until it is still sticky and has a rough texture. Adjust the water & flour as needed. Try to knead as little as possible. Puff pastry likes a lazy kneader.


3. Form dough into a ball, remember-knead as little as possible.


Flatten the ball a bit, then cut a cross halfway through the dough. Wrap it up in plastic wrap & let rest in fridge for 30 minutes.


You’ll want the Butter Block to have approximately the same consistency as the Dough, after the dough is rested.


You don’t want the butter rock hard, but not mushy soft, either. A dough that is softer than the butter will stretch while the butter doesn’t. If the butter is softer than the dough, it will be pushed out the sides. Either suck to some degree. You may have to adjust chill/resting times for either dough or butter block so they are about the same. Kitchen temp., how long it took to make the dough, fridge temp., all affect the consistency of the Butter Block & Dough. Figure out adjustments to make so they’ll work together homogeneously. It may take a time or two, but you’ll get the hang of it.

Assembly

1. Pull the corners of the cuts out of the dough ball to make a square shape. Roll the dough out to a square slightly thicker in the center than on the sides, and slightly larger than the butter block.


2. Place the butter block diagonally on the dough square, so that the butter corners are pointed at the middle of the dough sides. Fold the uncovered dough corners over the butter block to completely envelop the butter. Pinch the seams tightly together to seal in the butter.


3. Dust your work surface with flour, and roll the dough into a rectangle about 1/2″ thick. Remember to keep dusting with flour whenever needed to keep the dough from sticking & tearing the layers.

4. Size up your rectangle visually into 3. Fold one third over the middle, then fold the opposite third over. Just like a tri-fold brochure. Try to have everything as even as possible. All the edges should match fairly closely. Put on a plate, cover, and refrigerate for about 30 minutes.


5. Roll out to 1/2″ thick and repeat the fold. Don’t forget to flour as you roll. Plate, cover, and refrigerate for 30 minutes. Repeat this for a total five roll & folds.


6. After the last fold, roll the rectangle out to about 3/4″. If it is difficult, put dough in the fridge for a bit to relax the gluten. If using immediately, cover, rest in fridge for about 30 minutes, then use as needed. If it’s for later, cut into sections big enough but that still fit easily in your freezer (usually just in half), layer with wax paper between sections, freezer bag it, & store until needed.

7. If you're going to bake it now, roll out the dough pretty flat and cut into triangles.


8. Roll up the triangles and smear with egg wash.


9. Throw them in an oven preheated to 425, for about 10-15 minutes until golden brown.


Lordy lord.


These are amazing. SOOO tender and flaky. They almost fall apart they are so flaky. Butter oozes out of these and they were incredible warm from the oven. Mr. Bread Maiden, who initially wanted to use the puff pastry for a Beef Wellington, immediately changed his mind in favor of more croissants. While it was definitely time-consuming, I think I would make puff pastry again. Maybe next time I will double the recipe so I can freeze one and use one. I can already see uses for this dough: pies, croissants (of course), strudels, pot pies. Stay tuned.

Tuesday, September 13, 2011

Carrot-Apple Sauce-Banana Bread


The description of this loaf on grouprecipes.com says it all:

"This moist bread combines banana and carrots for a different take on a lowfat banana bread."

We make banana bread. We make carrot bread. The ingredients for each are basically the same. Why not combine the two?

I heartily agree.

I've been experimenting with healthy bread recipes that Mr. Bread Maiden and I can enjoy, but can also double as teething biscuits for Little Bread Baby.

My first recipe was the Crunchy Teething Biscuit Recipe.

I must not have baked it for long enough, because by the time it had fully cooled, it had sunken in the middle and was still quite wet and mushy.

Even so, with the second baking, they firmed up and LBB loved them. I even made little french toast sticks with them.

So this time around, I picked just a regular bread recipe. This One.

I had carrots and bananas on hand, and made quick work grating an apple for the applesauce.


Then I added the two eggs to comprise the wet ingredients.


Mix up the wet ingredients.


Now on to the dry ingredients.


Oops! What is that baking powder doing in the picture? I never used baking powder.


There, that's better.

Mix up two cups flour and one cup of sugar. I did one cup each of Whole Wheat and AP flour. Next time I think I'll cut way down on the sugar.


For some fun, I threw in some freshly-grated nutmeg.


Whisk the flour, sugar and nutmeg together with the salt and baking soda.


Now bring the wet ingredients and the dry ingredients side by side.


And mix the dry into the wet, a little at a time, with a spoon. Don't stir too much!


Now pour into a greased bread pan and pop in a 350 degree oven for about an hour.


Pull it out and let it cool.


Yummy.

But you aren't done yet!

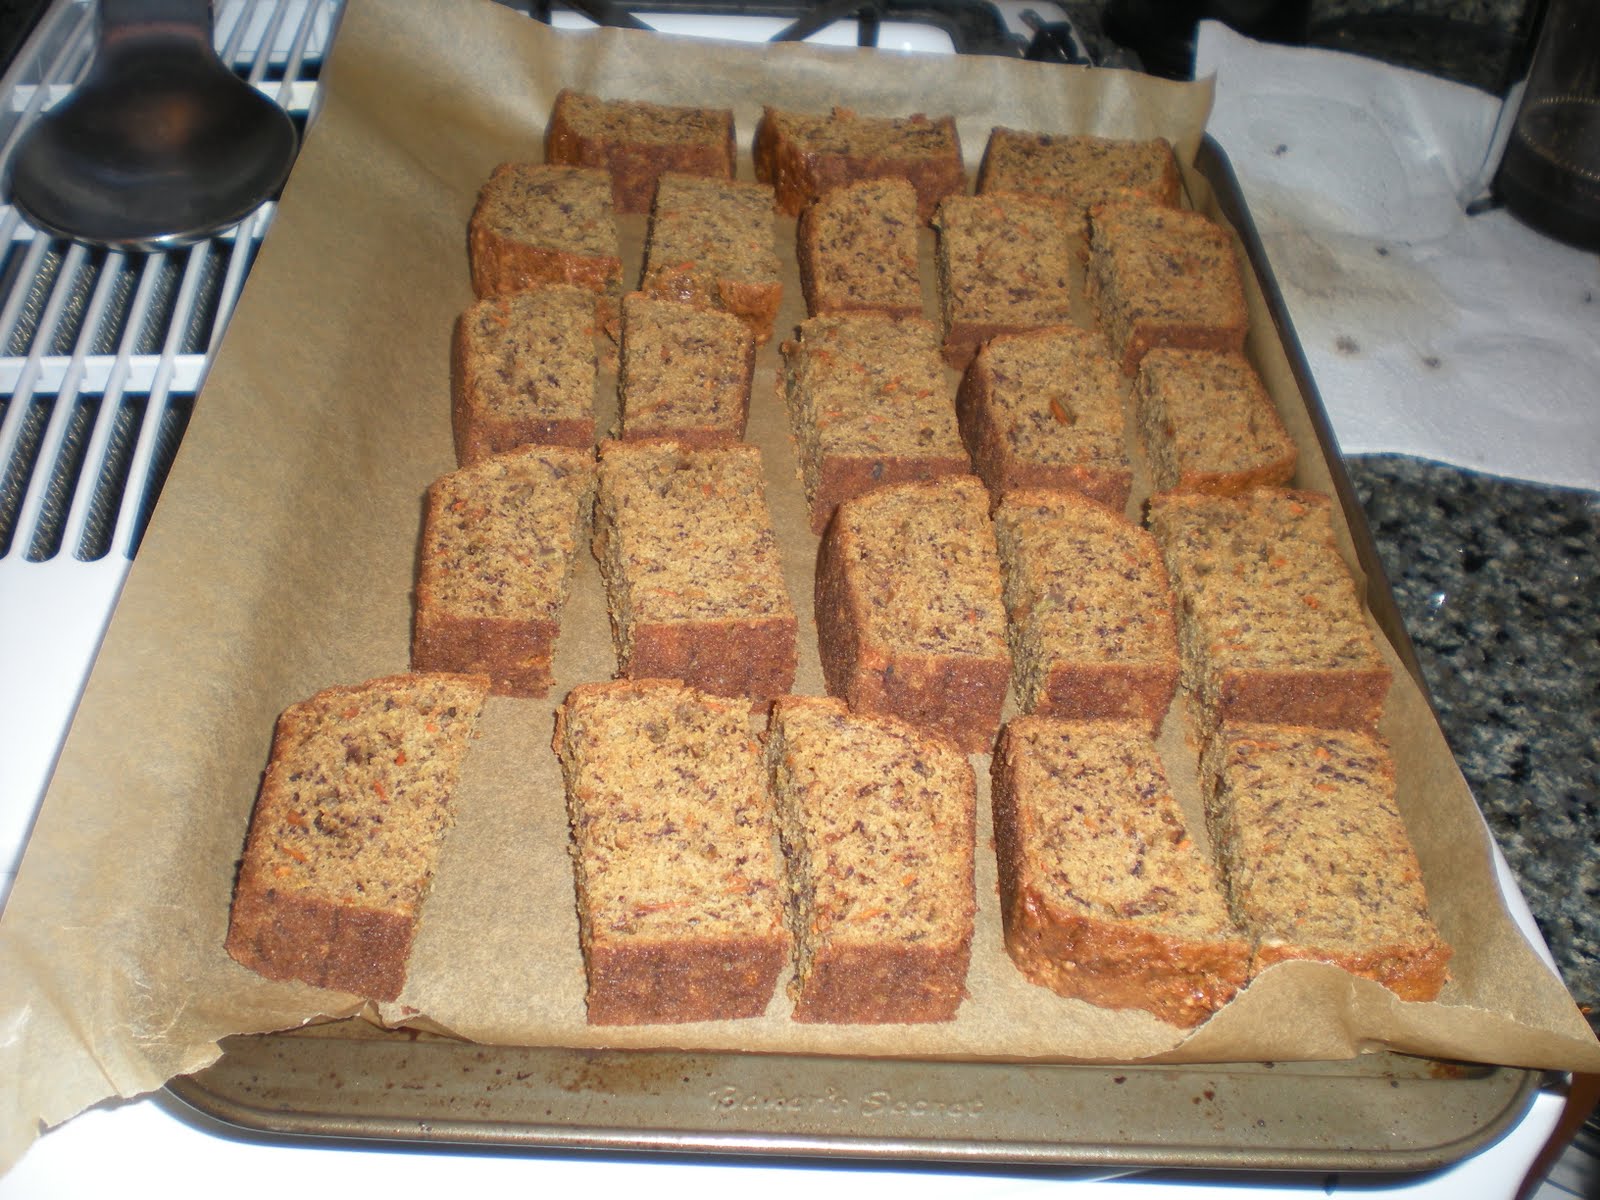
Once the loaf is completely cool, slice it into 1-inch-thick slices.


Then divide each slice into thirds.


Place the pieces onto a baking sheet lined with parchment paper.


Bake until they are a little dry and crispy, about 20-30 minutes.

Once they are cool, enjoy! These taste really good (probably because of all the sugar). LBB ate one already and loved it.

You can really do this with any bread. Just slice it already-baked bread and bake at 350 until it has the consistency of biscotti.


What, you didn't know biscotti just means "twice-baked?"

Maybe if I call these "biscotti" instead of "teething biscuits" my baby will become a little foodie.


Or not.